
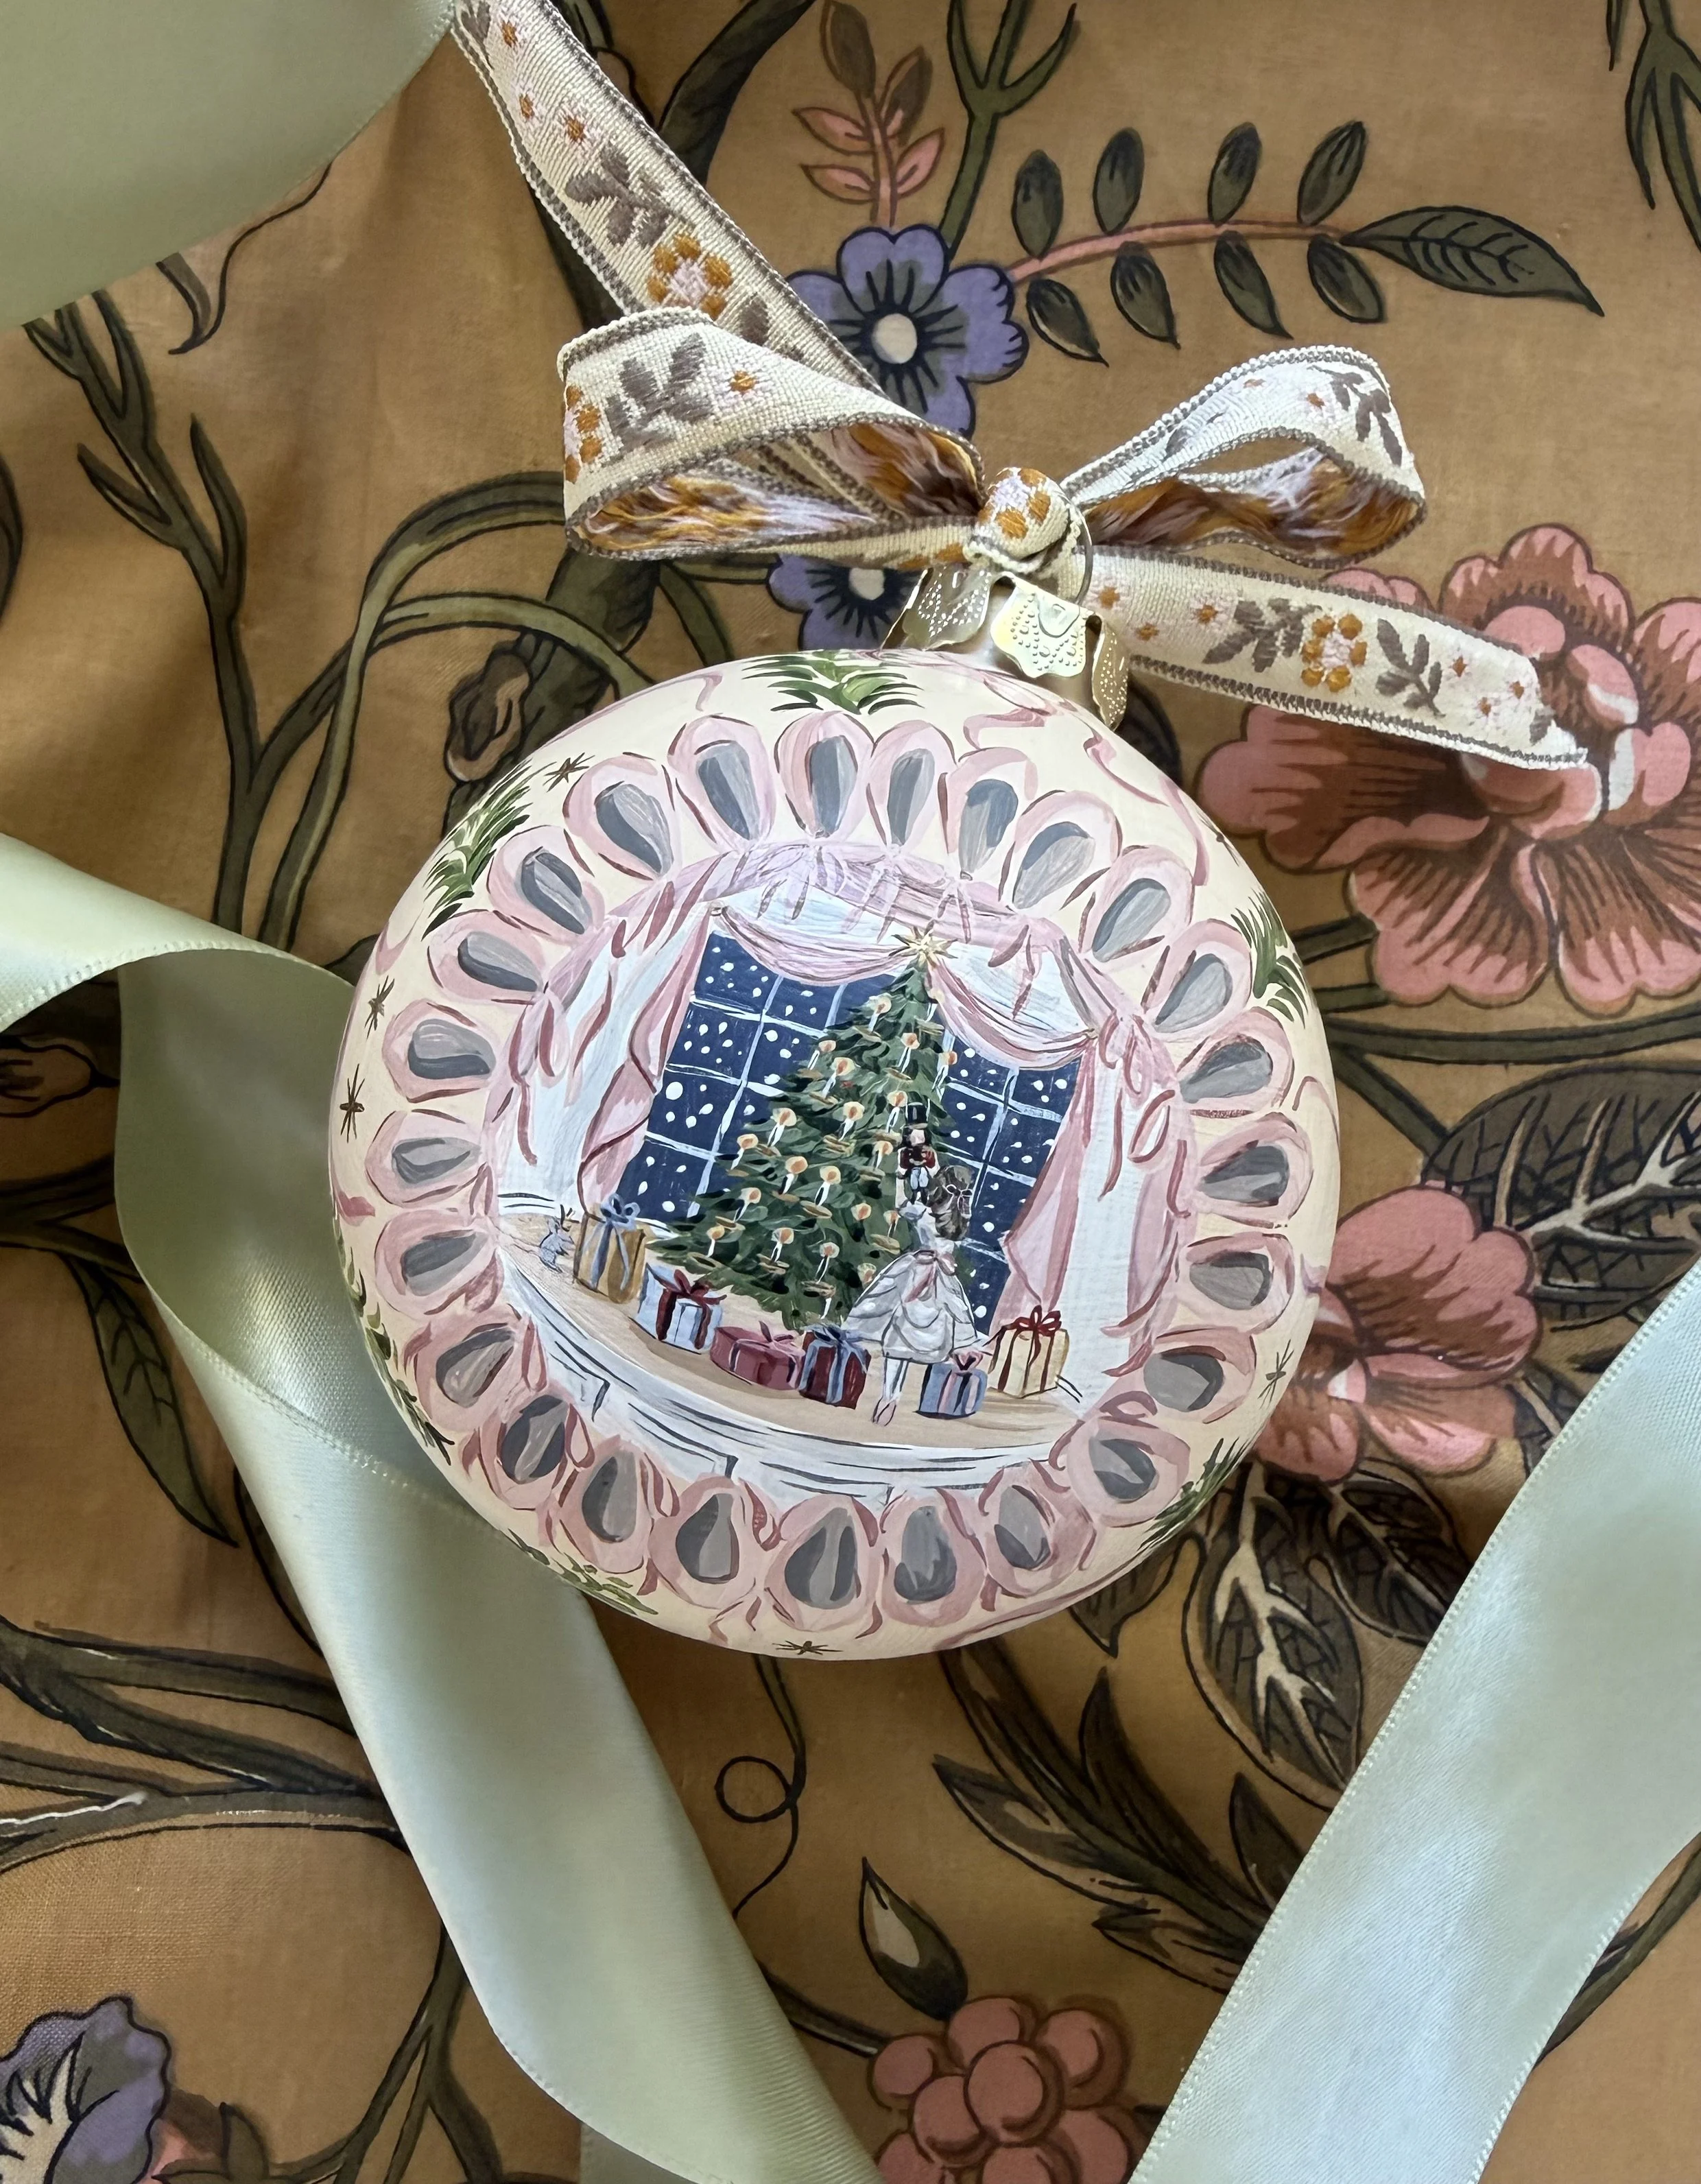
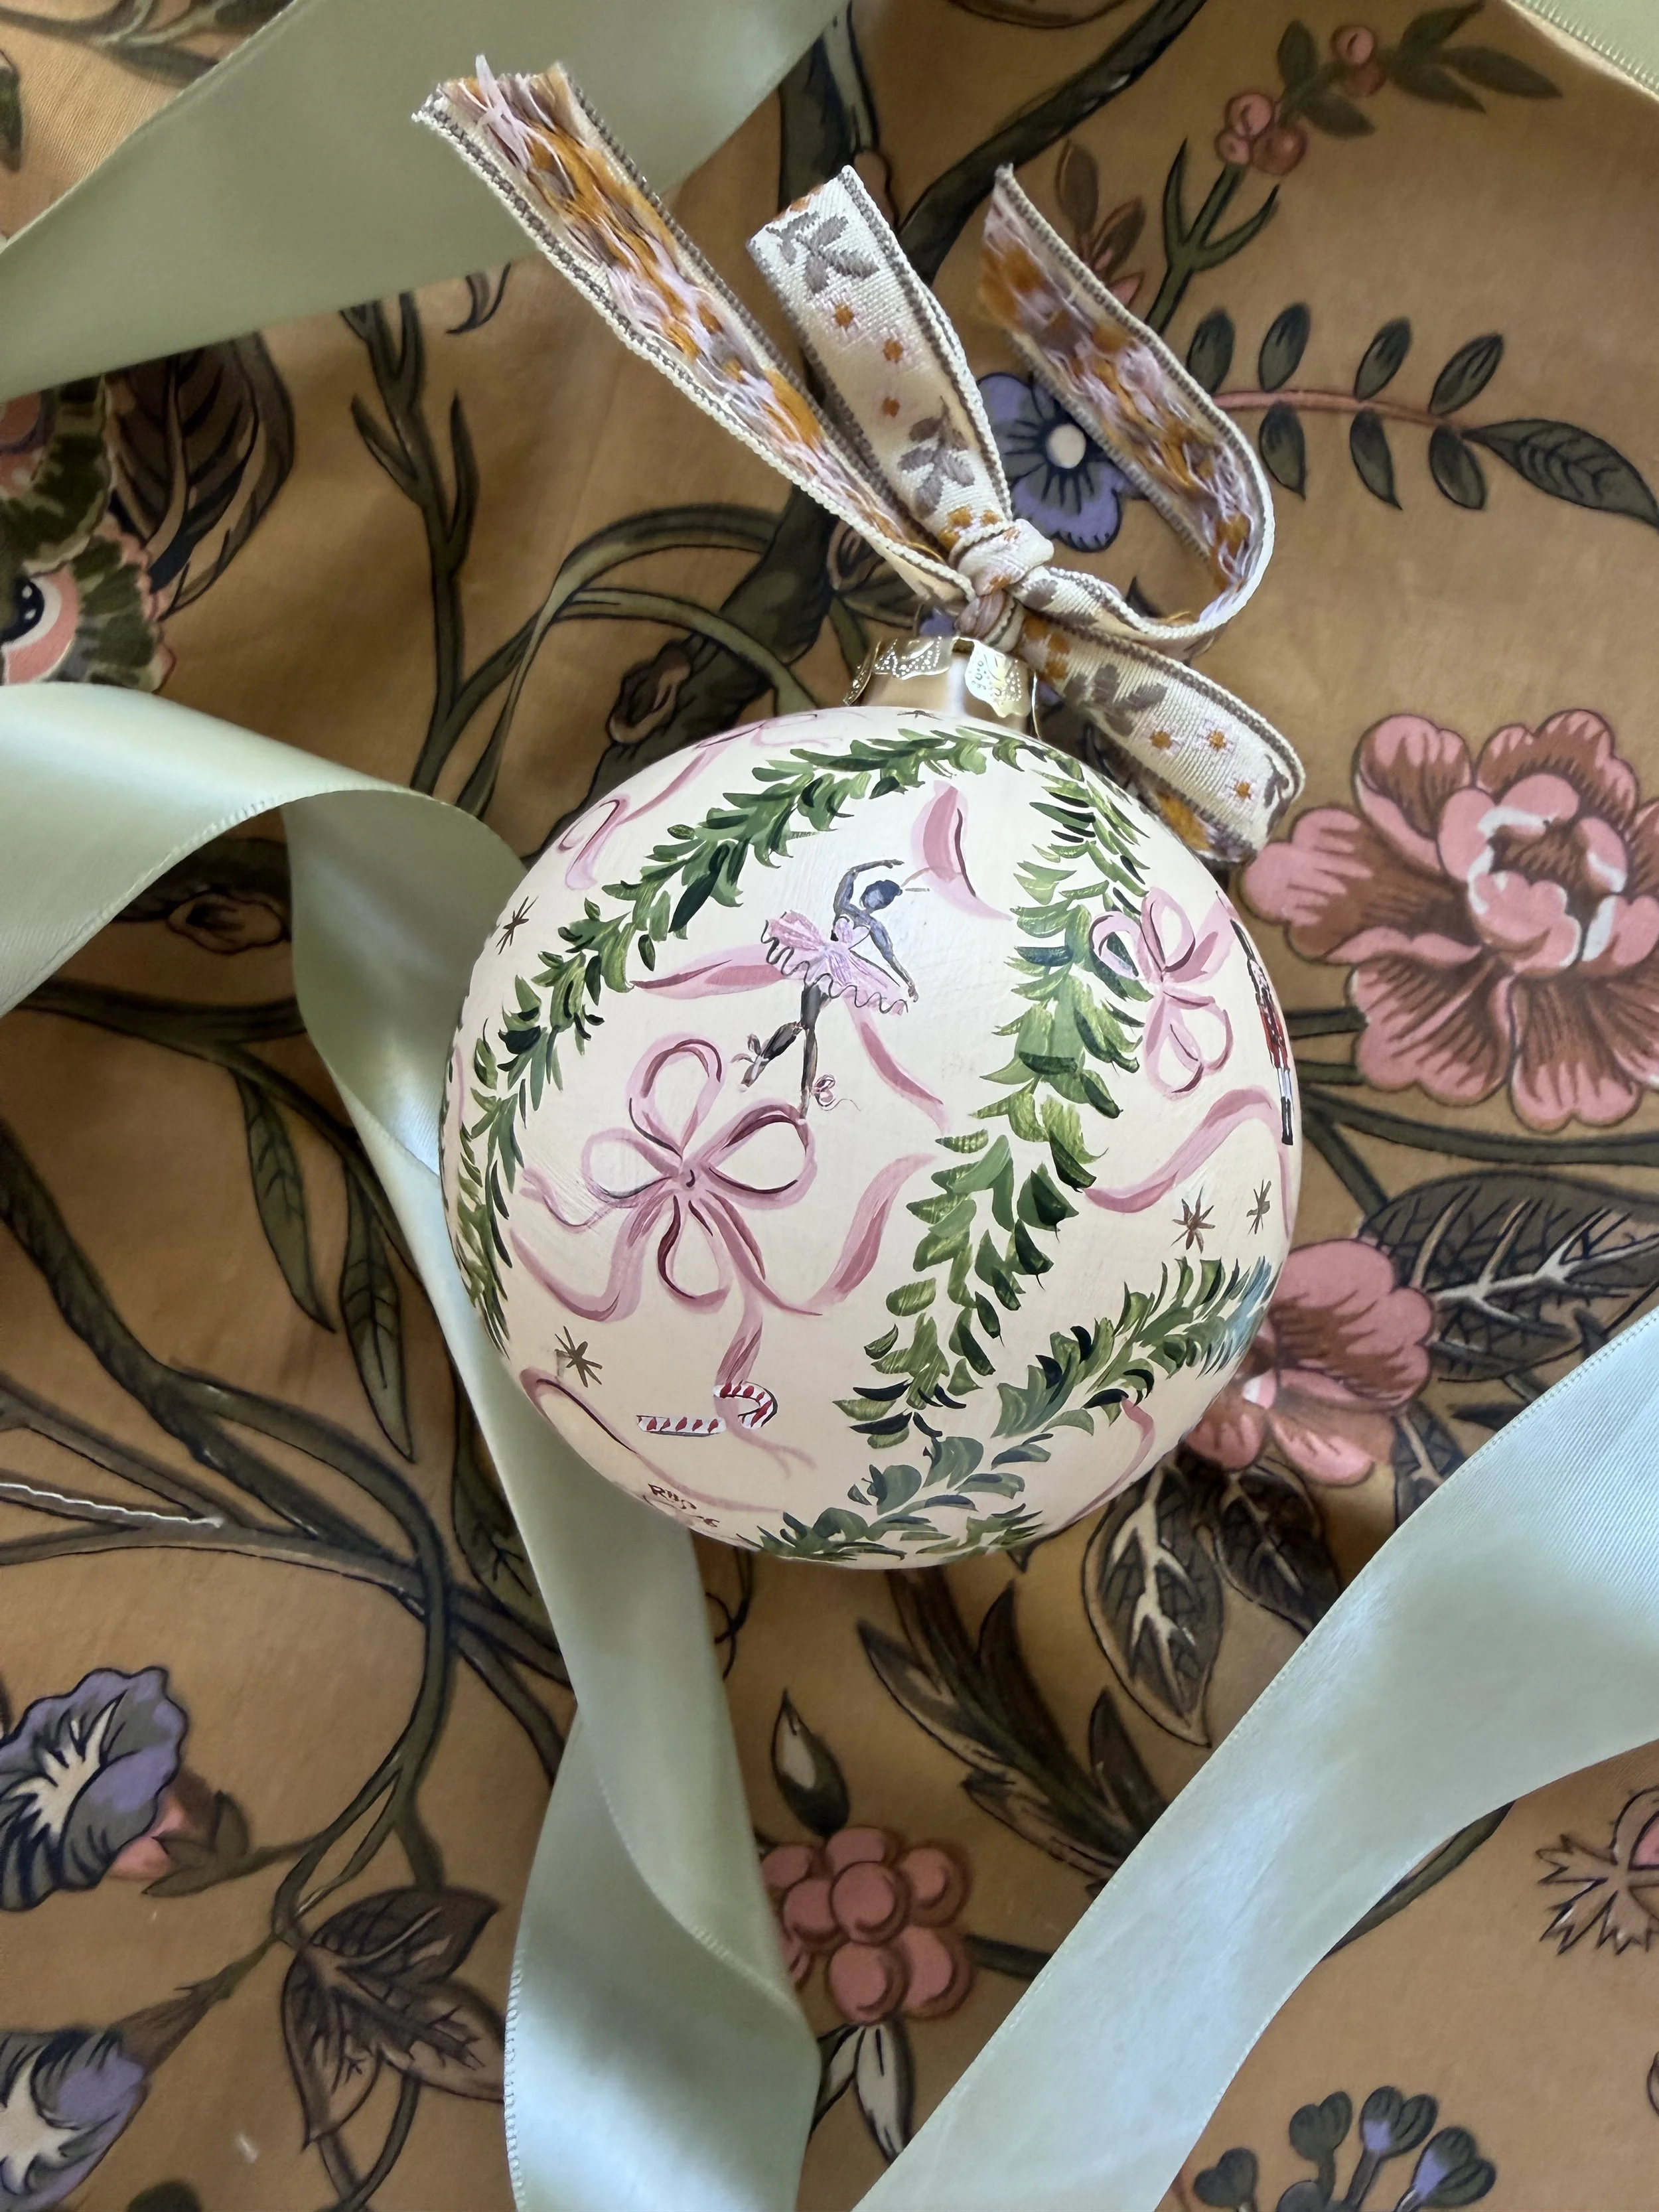
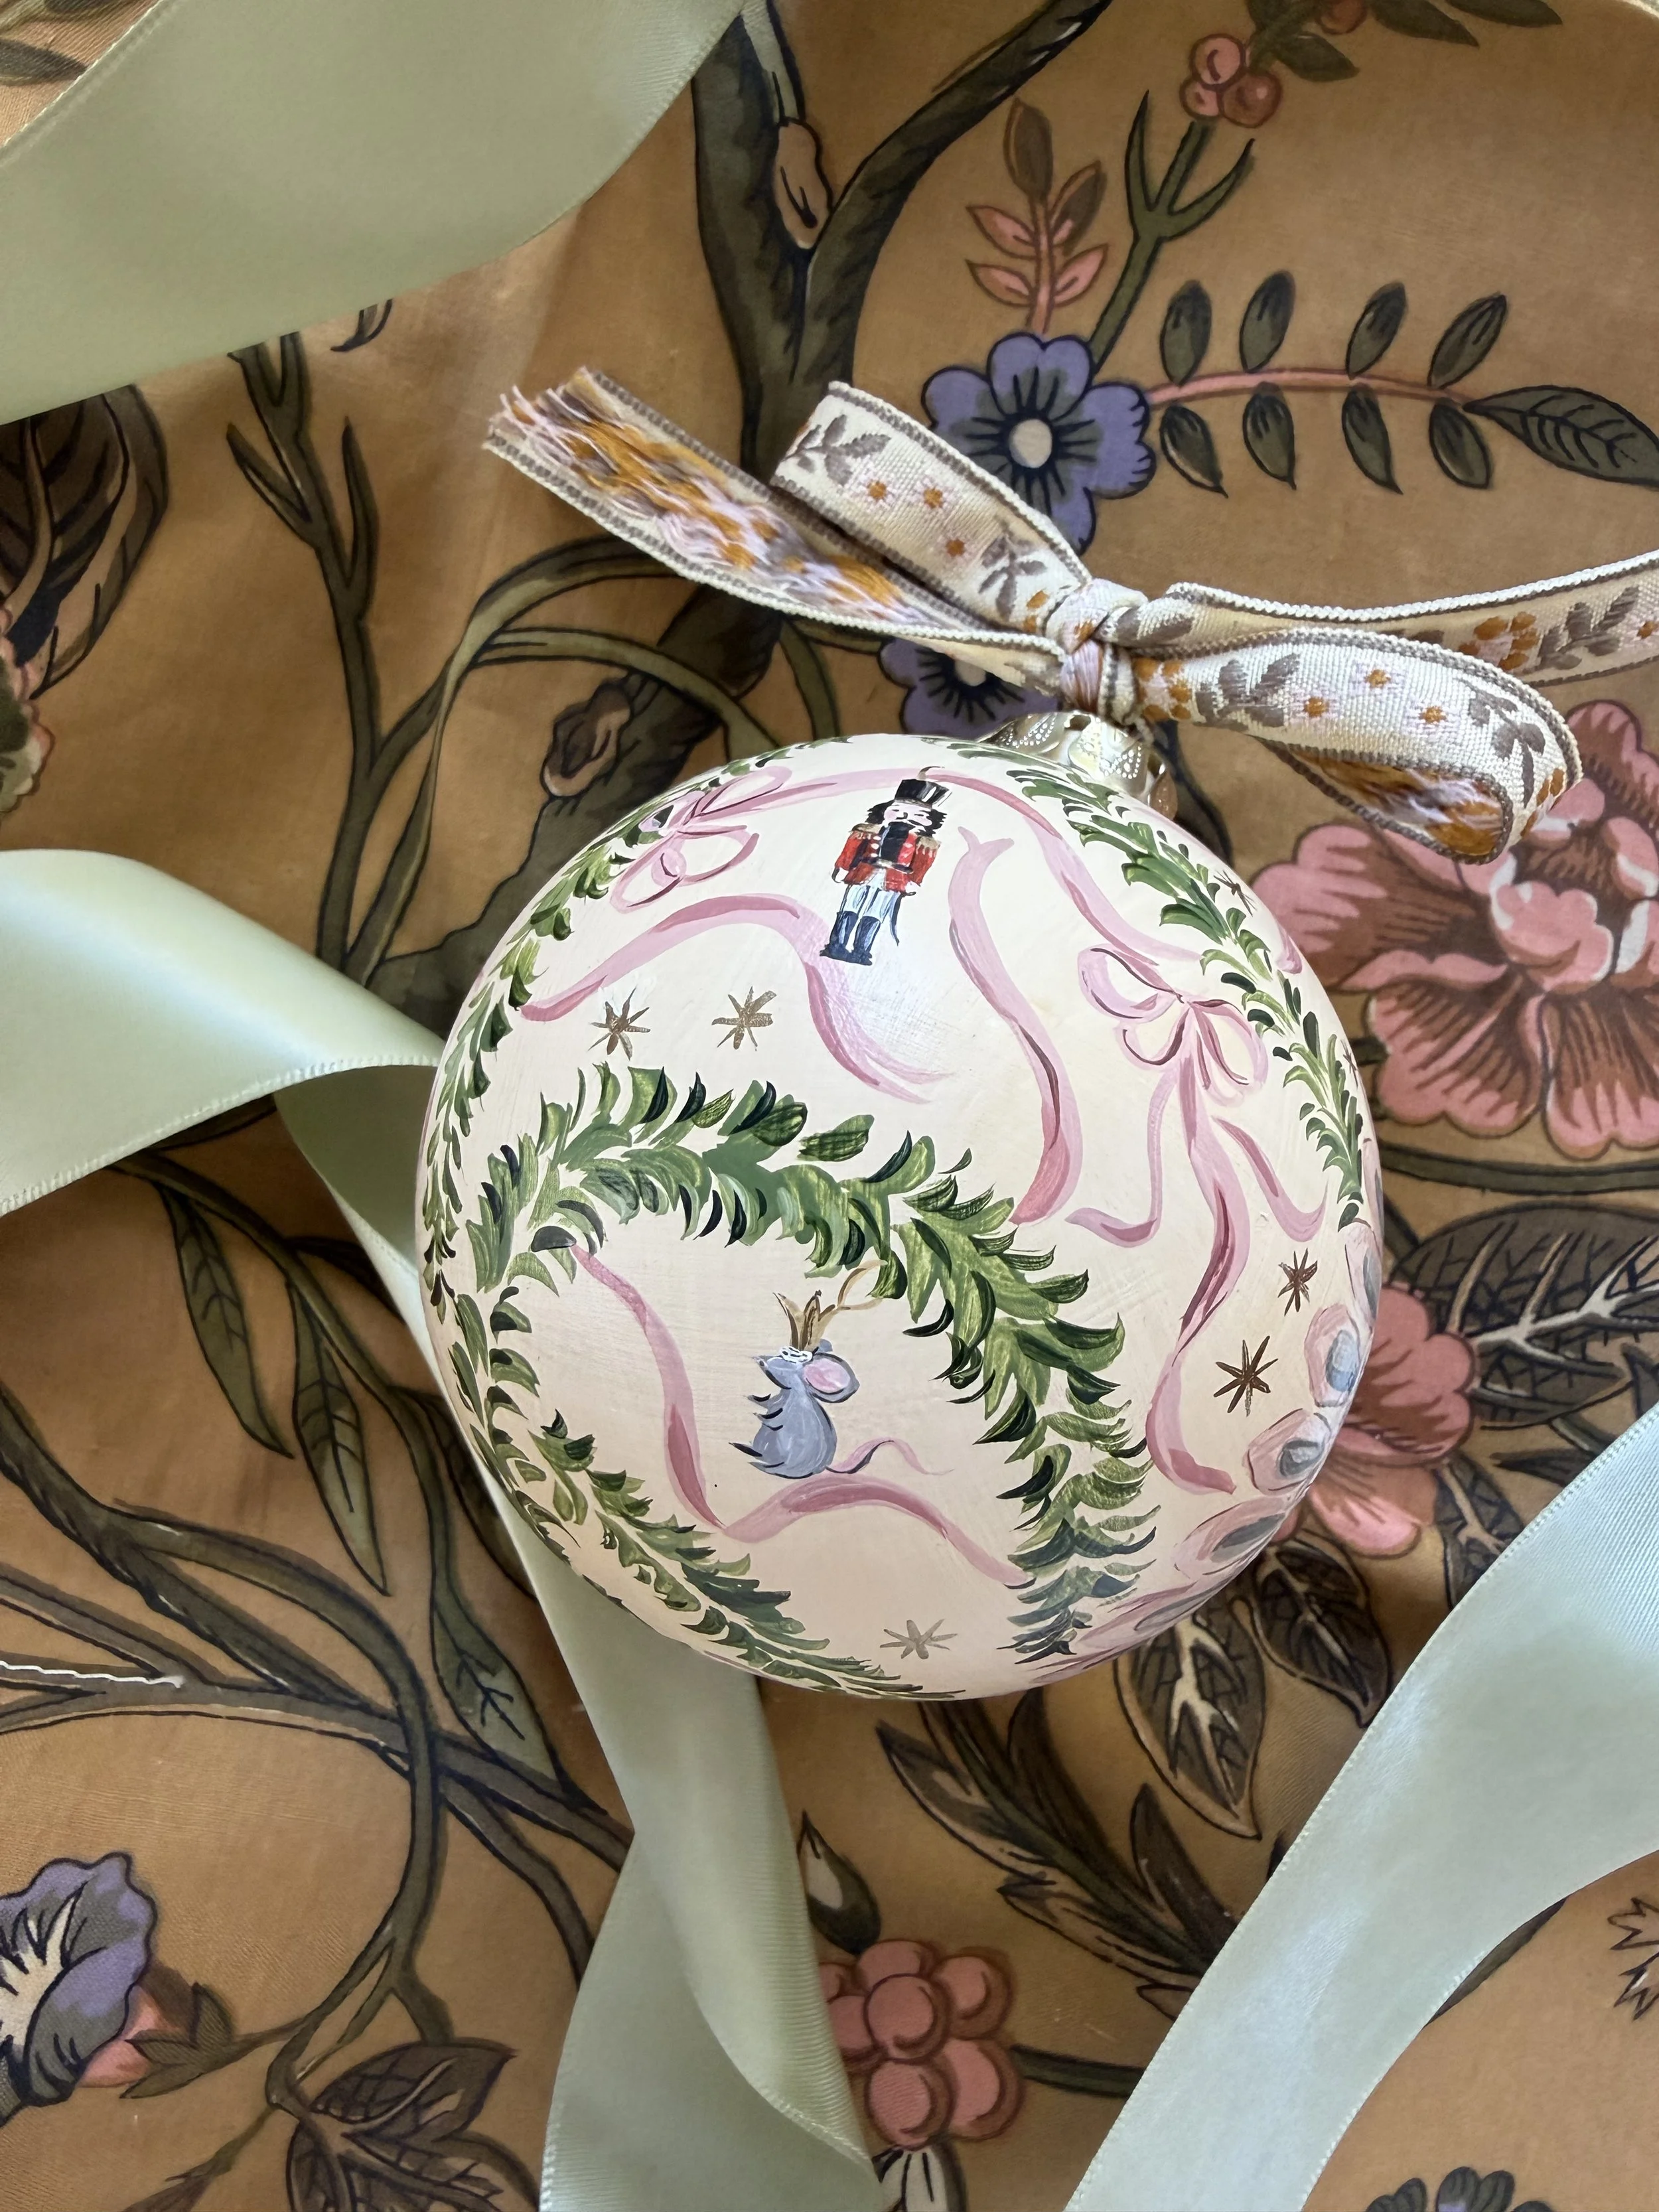
I’ve been painting ornaments for the past decade (or more?) and thought I’d share some materials/tricks I’ve learned over the years in case anyone wants to try their hand at it this holiday season. It is a labor of love for me to paint these- each one takes me somewhere between 3-5 hours to complete, but it’s been a fun way to see how my work has changed and grown over the years.
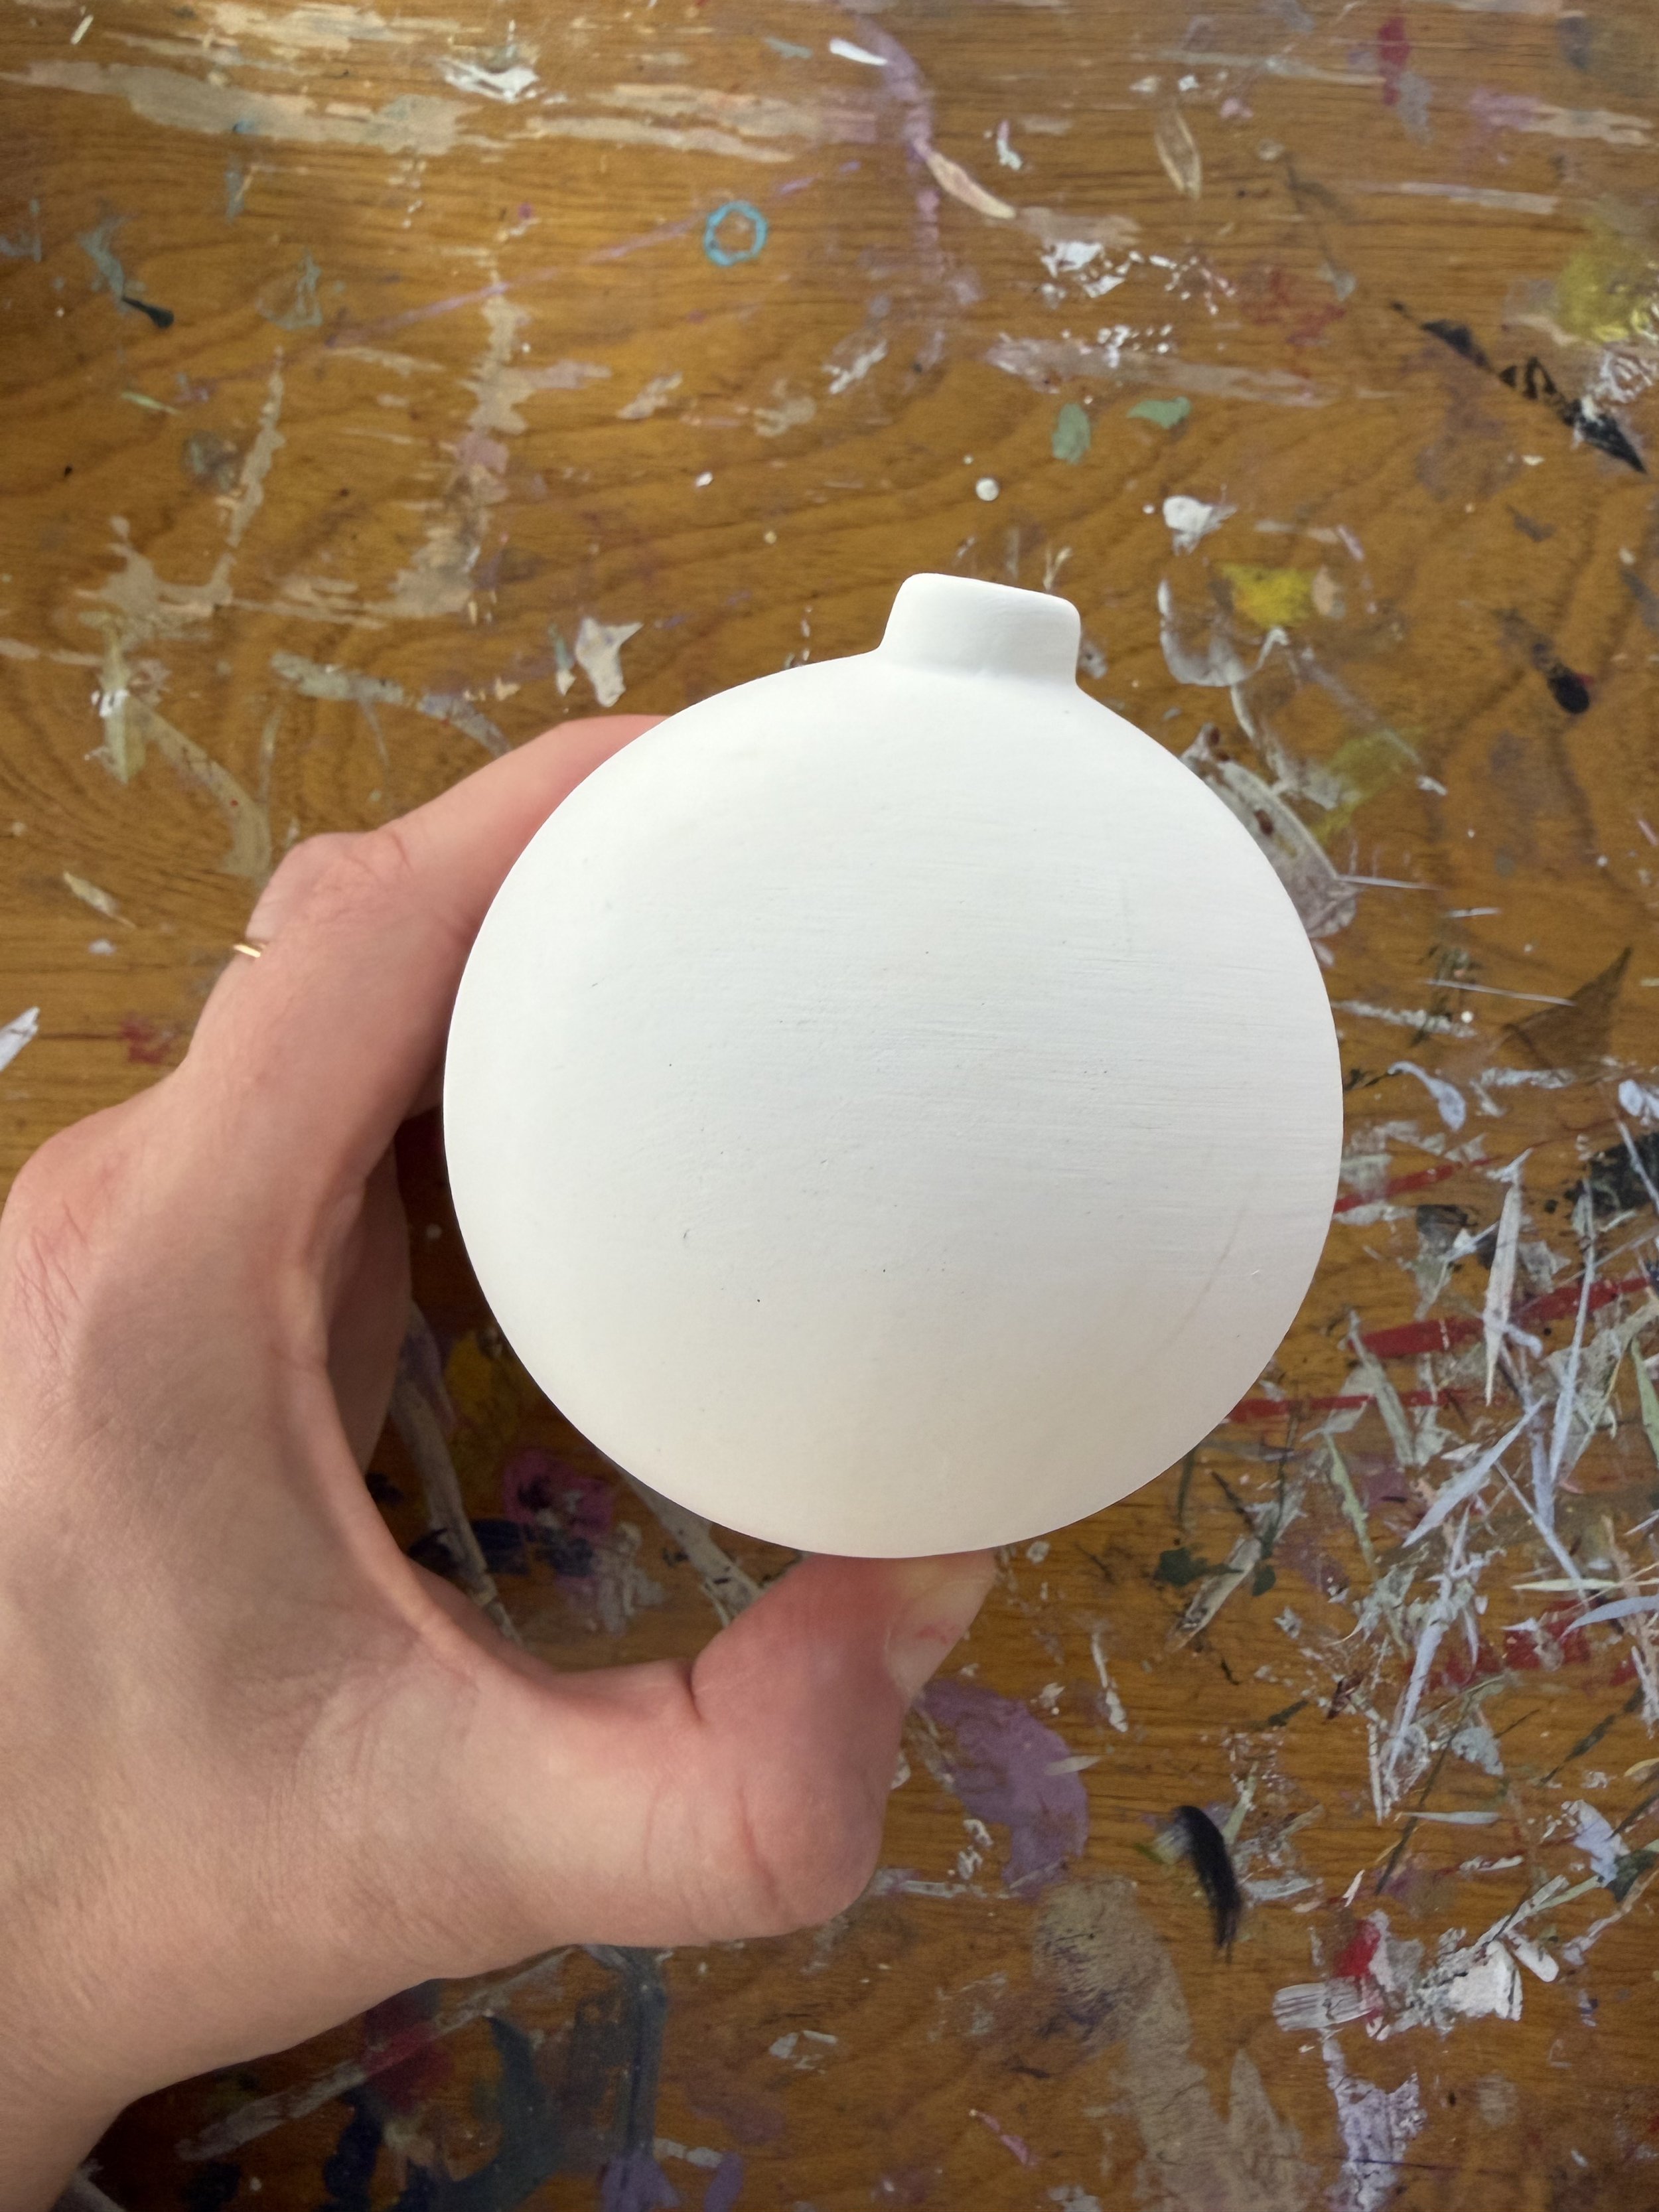
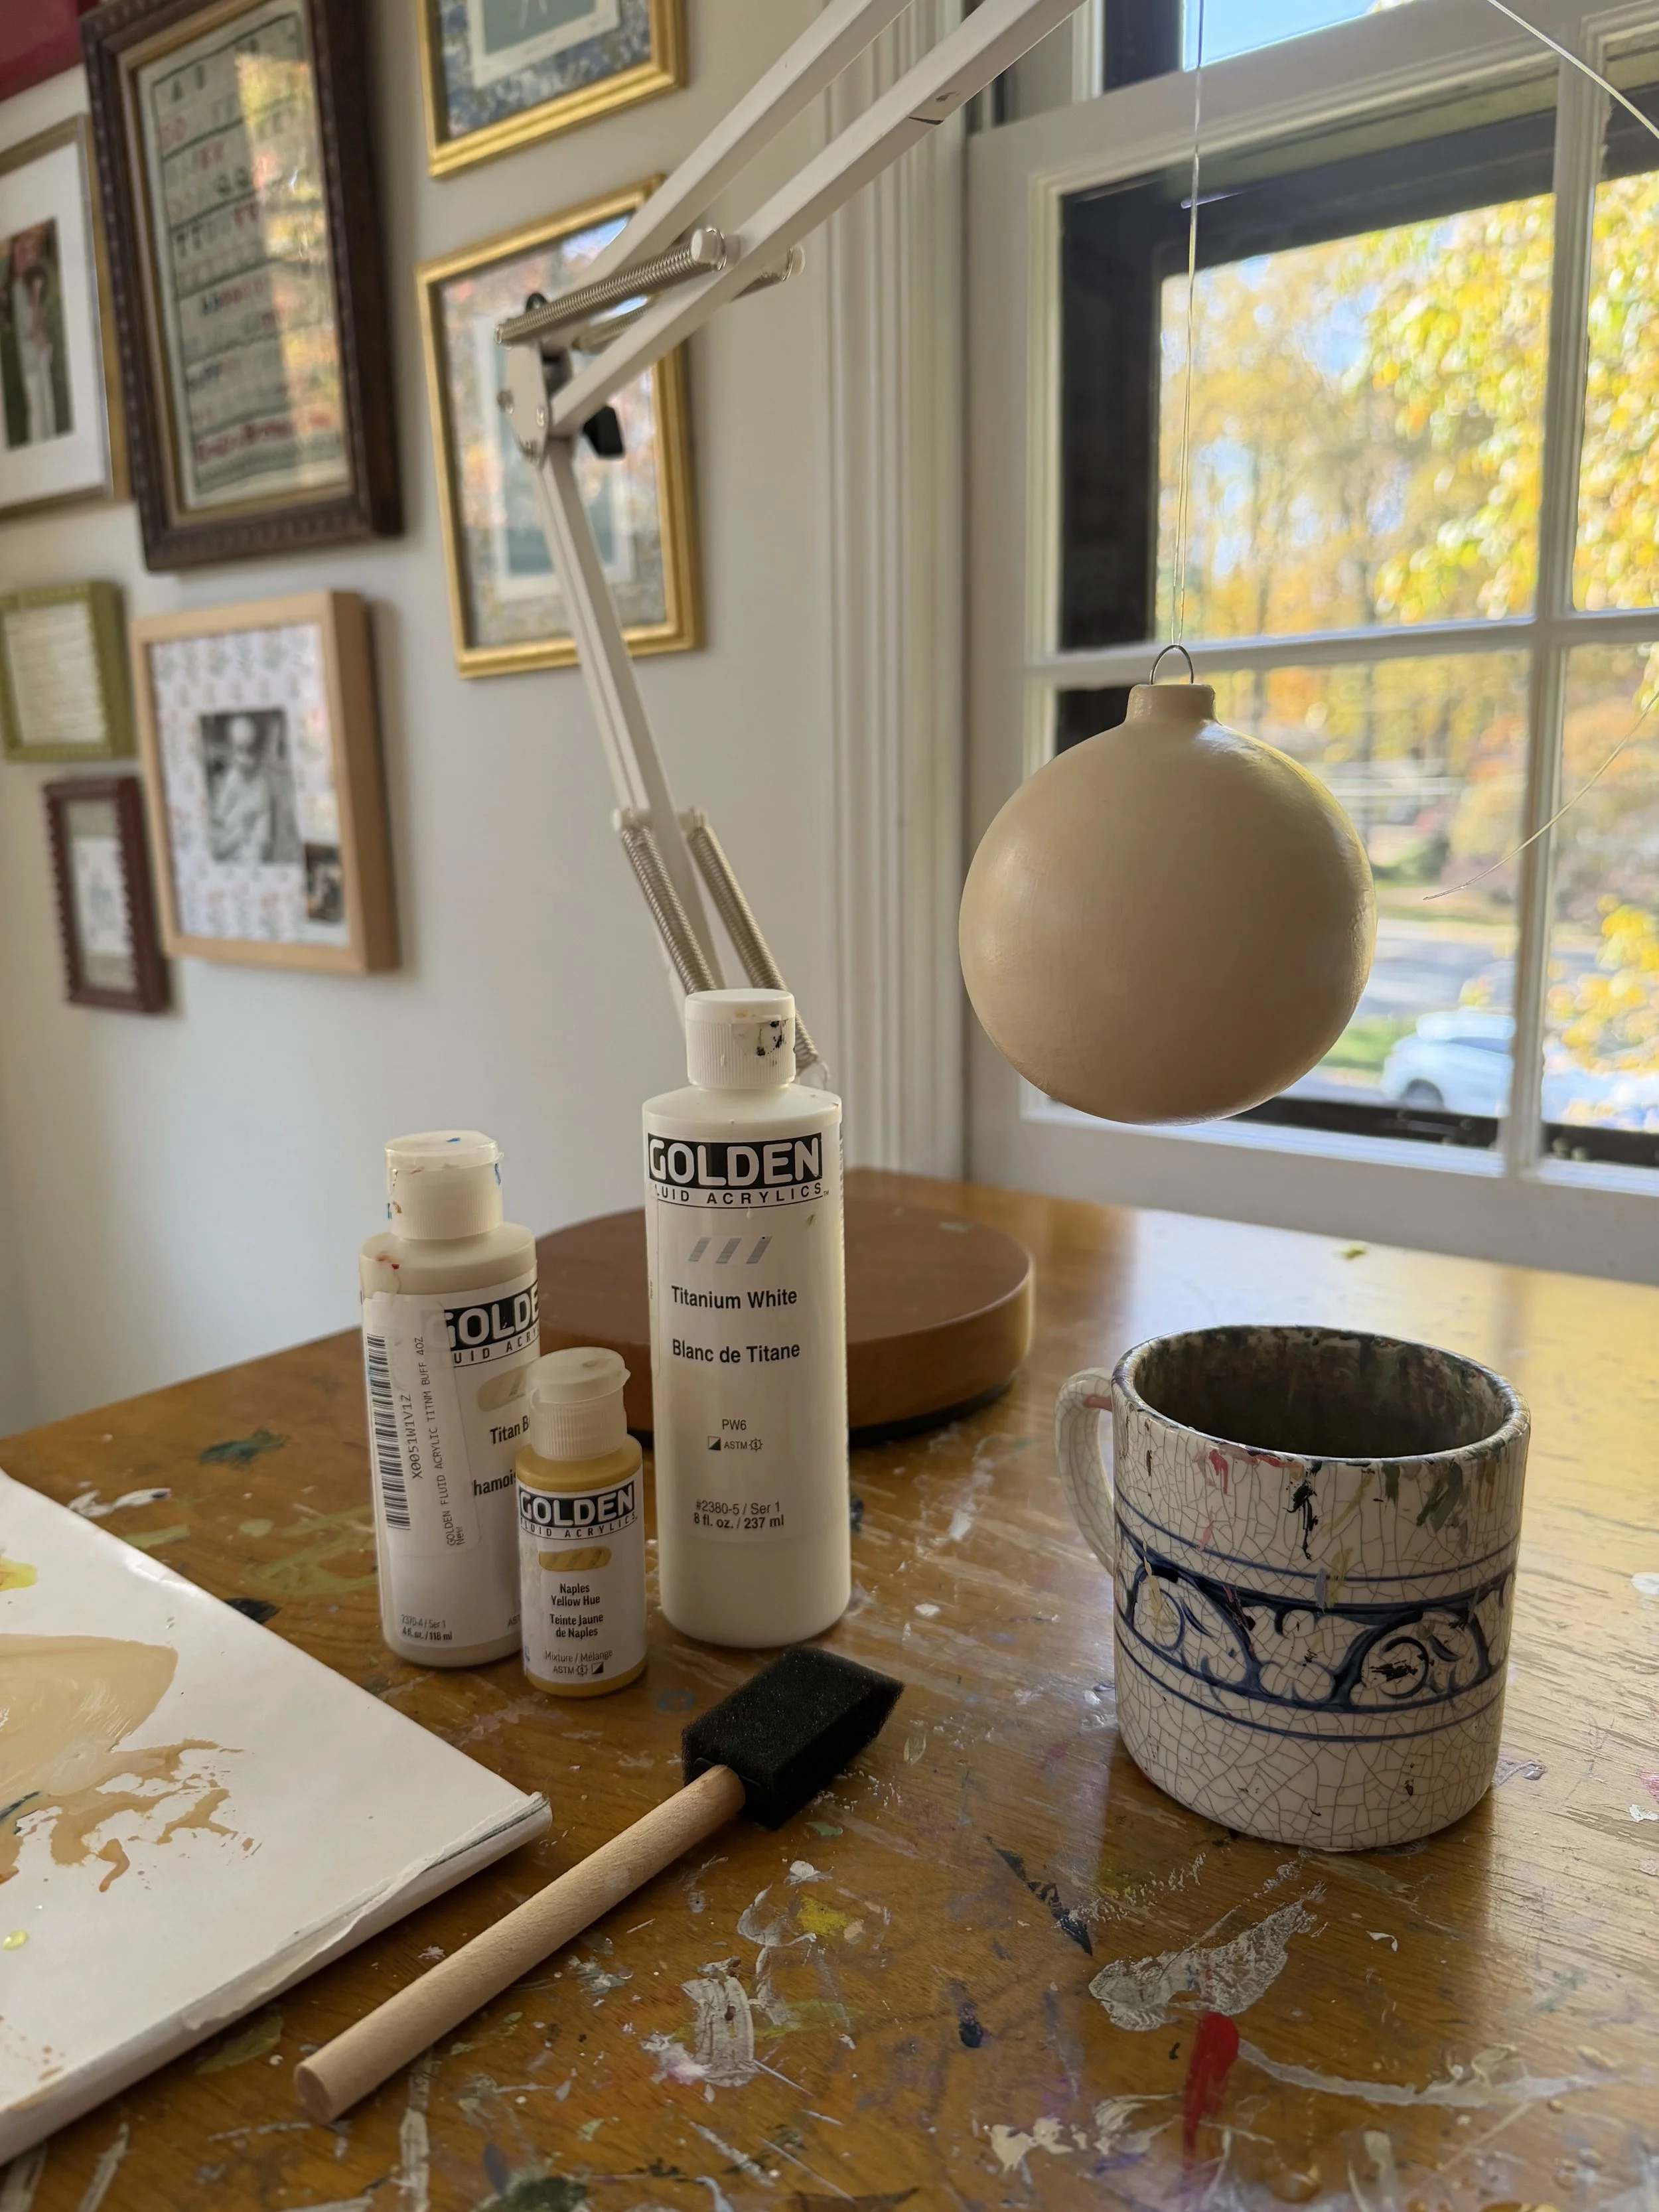
I always start with a bisque ceramic 3” sphere- I ordered these in bulk a few summers ago, I cannot remember where from, but if you Google “bisque ceramic 3” sphere ornament” a ton of options come up! Here is one link I found that looked pretty good. I do not coat with gesso first (although you definitely can- I just prefer to paint over as few layers as possible!)
I use Golden Fluid Acrylic paints, and start with a base coat, which I apply in a thin layer with a 1” foam brush.
As I’m painting details, I usually just keep the ornament in my hands (acrylic paint dries very quickly- within a few minutes to the touch), but while I’m waiting for the base layer to dry, I hang the ornaments with fishing line or embroidery floss from whatever I can find (lamps/etc.)
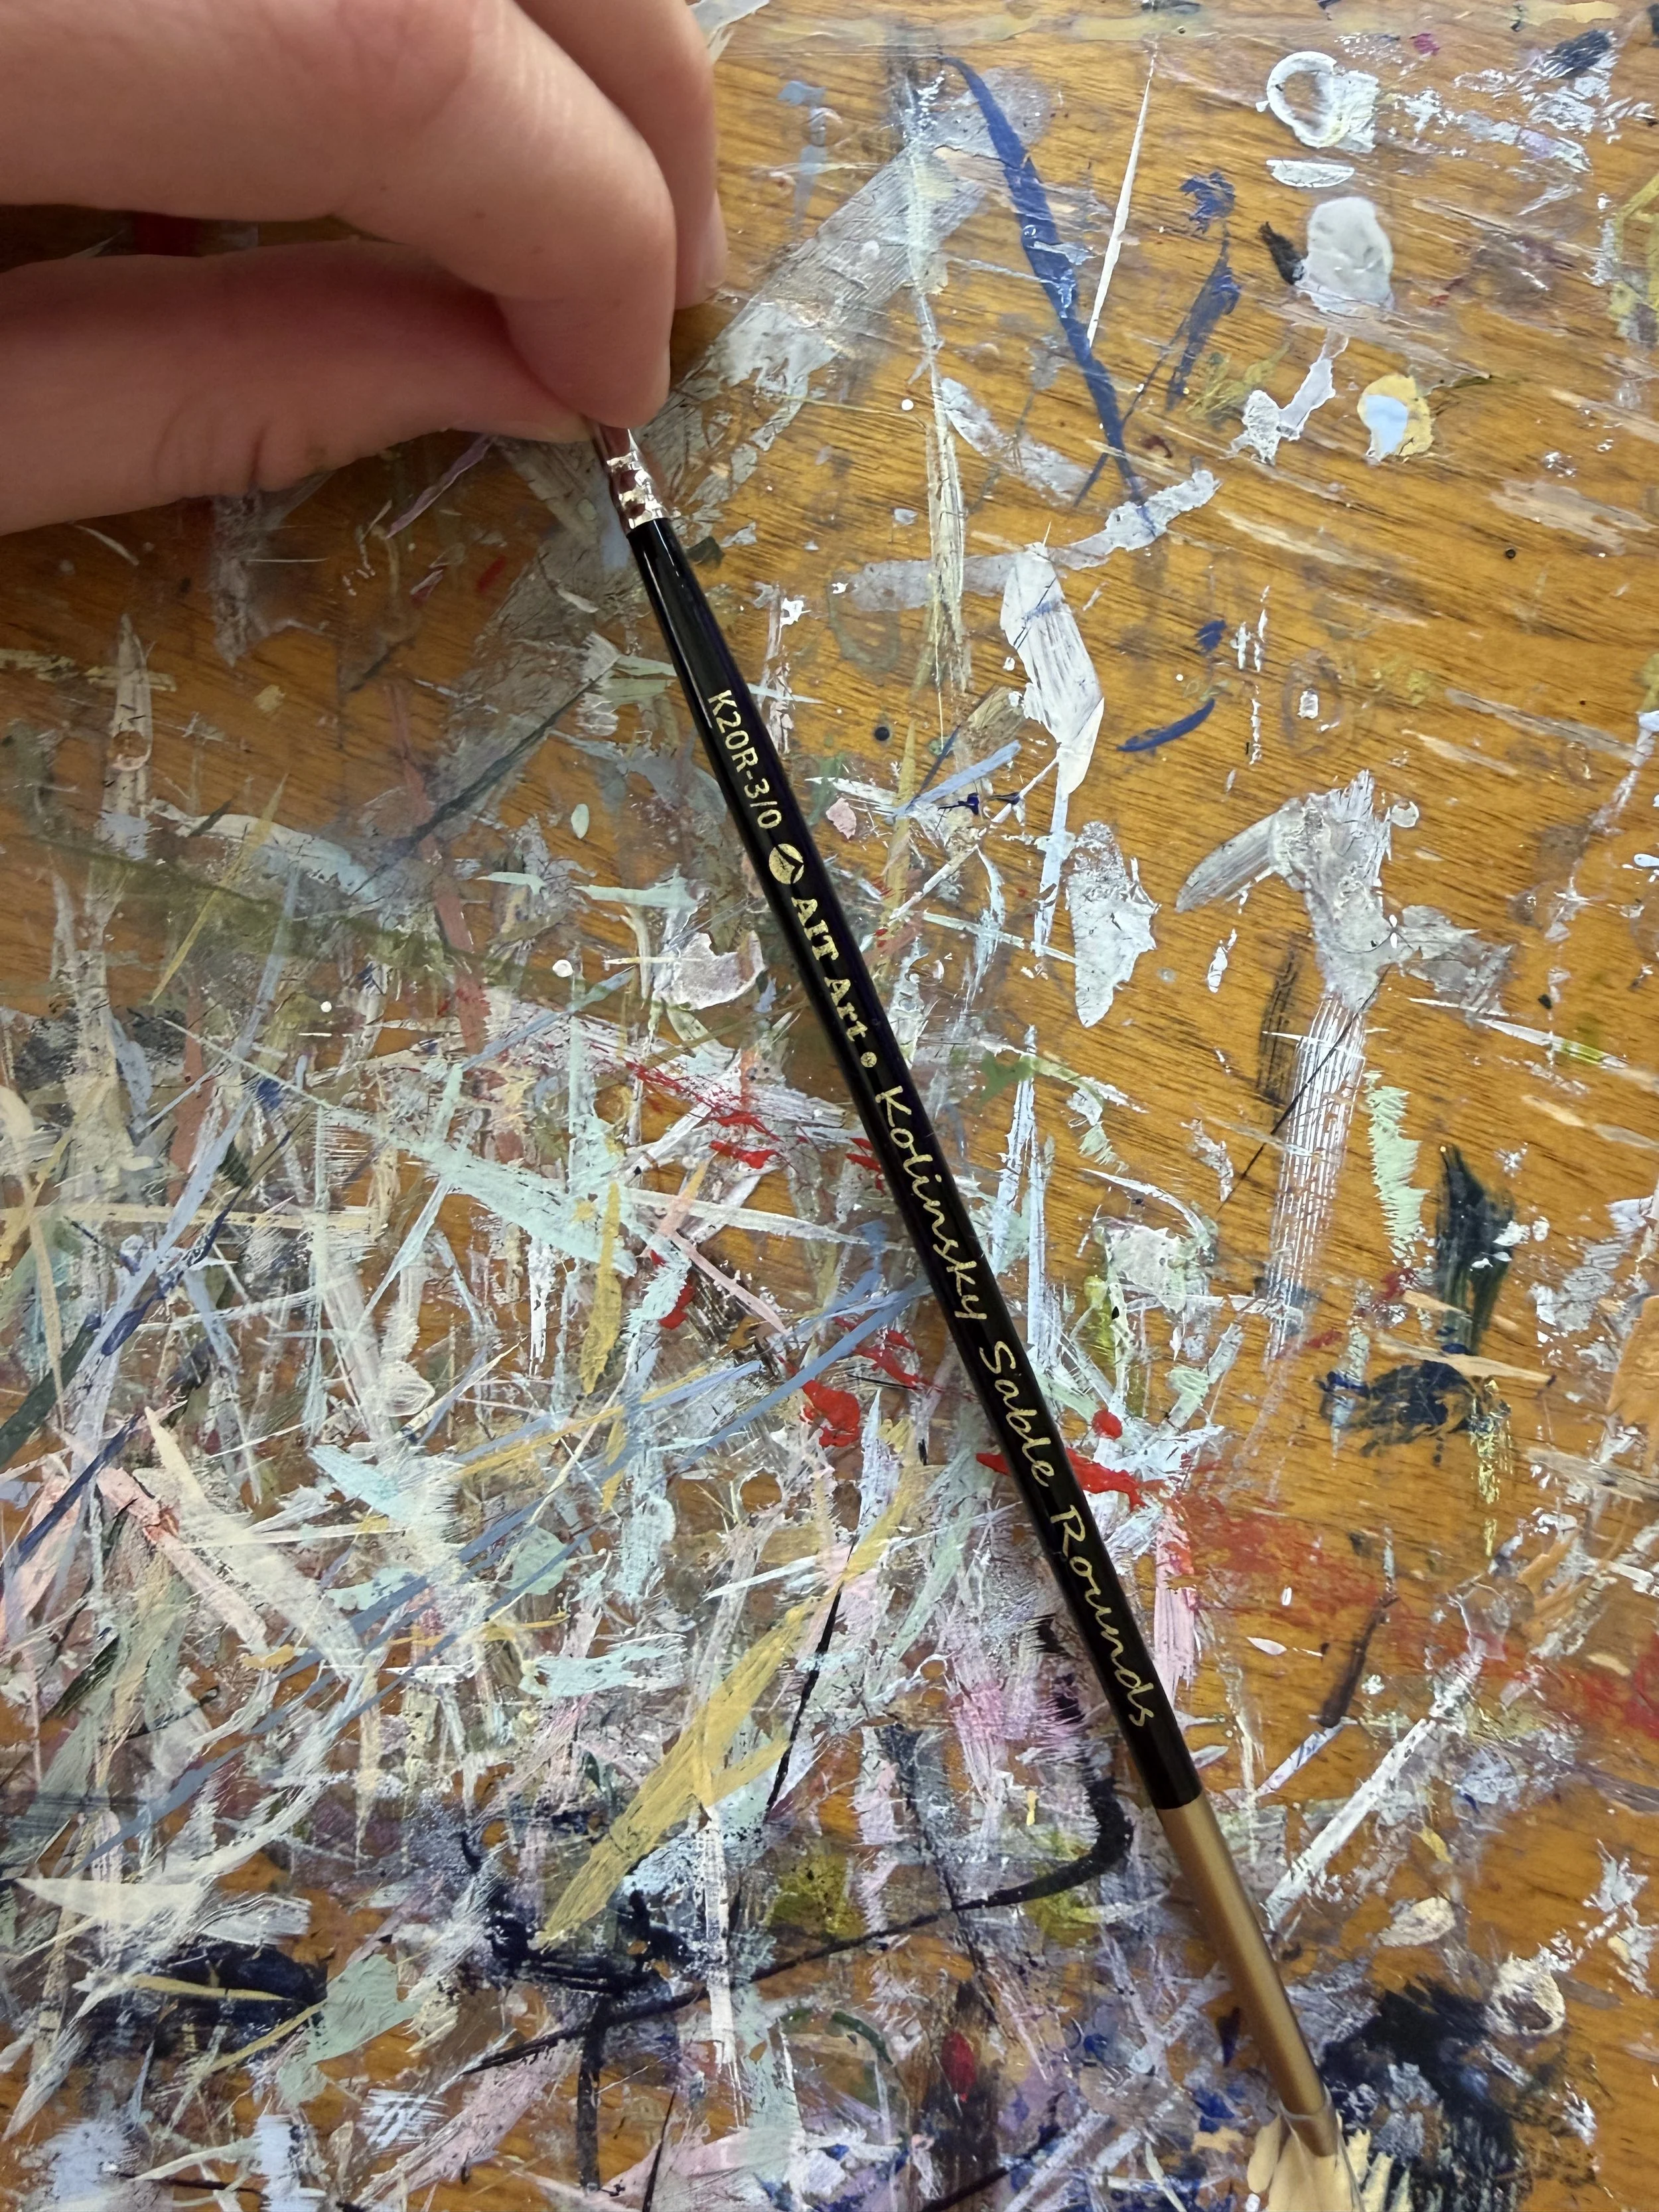
My most-asked question of all-time is re: what brushes I use! I use AIT Art Kolinsky Sable Rounds brushes in size 3/0 for tiny details and 0 for slightly larger details. These are also the brushes I use for painting playing cards, FYI (and in case it’s helpful- I use the same paints, too, and paint on Bicycle brand playing cards, and do not coat with anything before or after painting- since Bicycle cards are made with textured paper, paint adheres to them perfectly!)
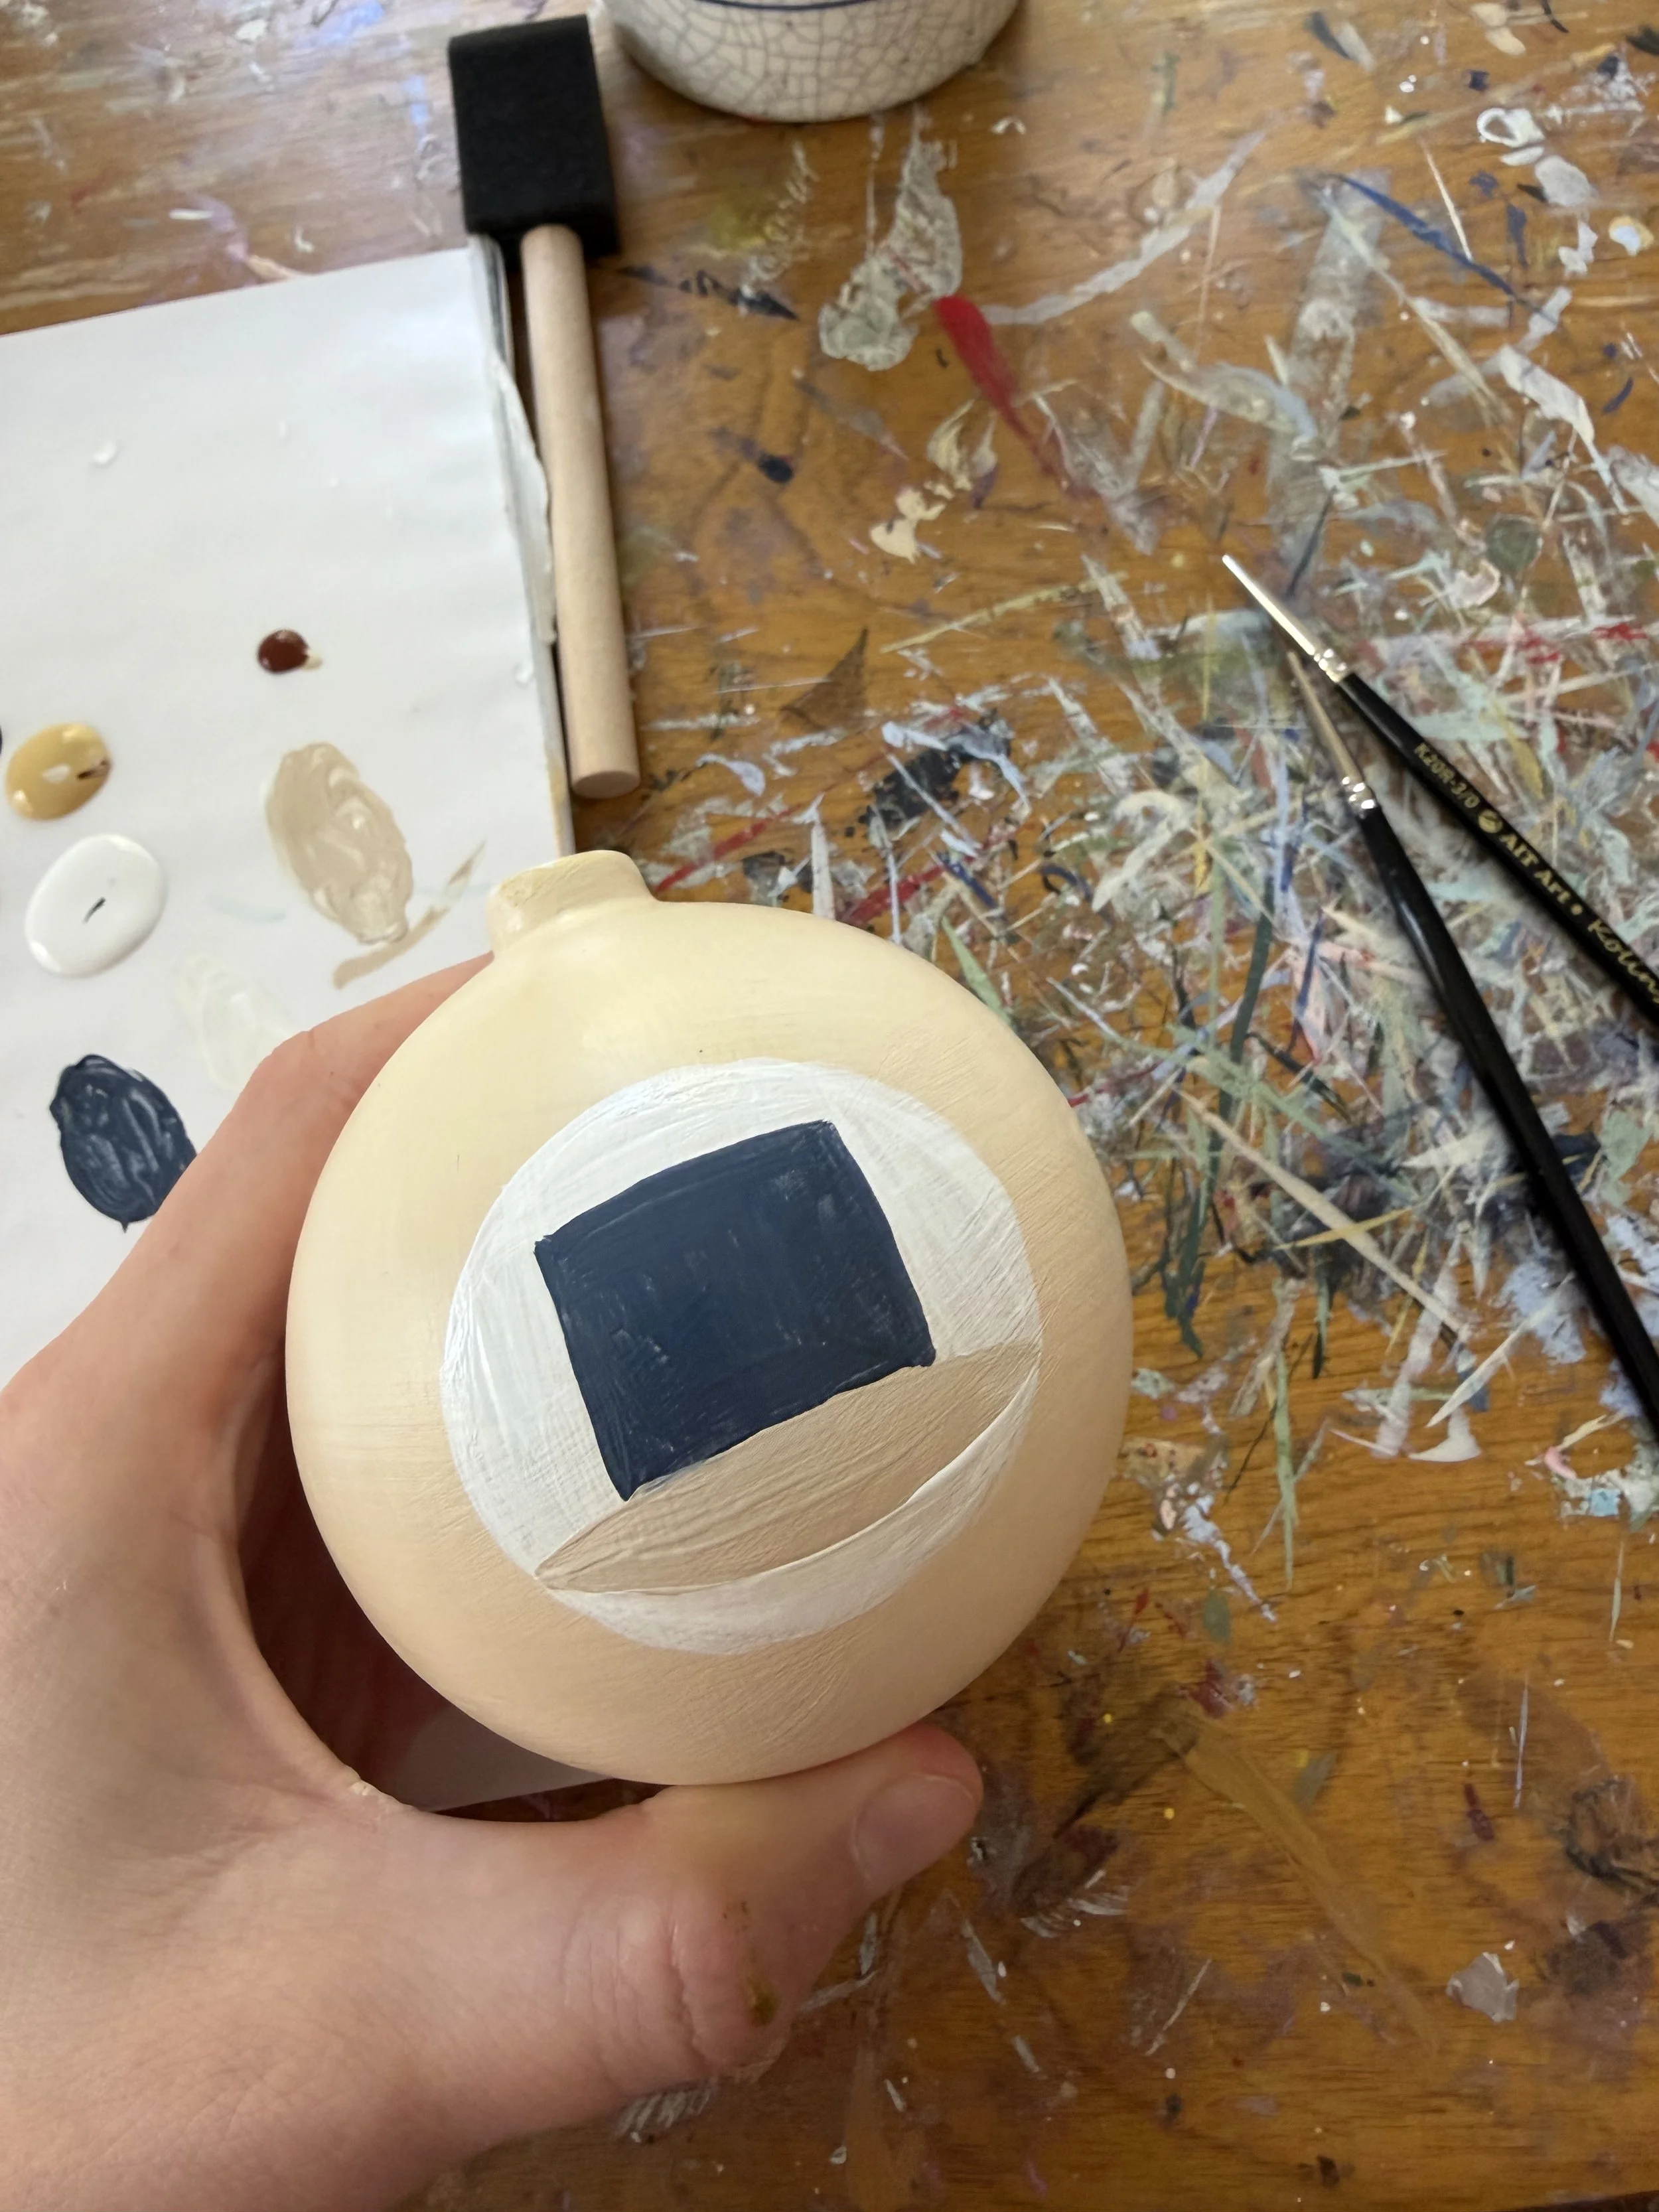
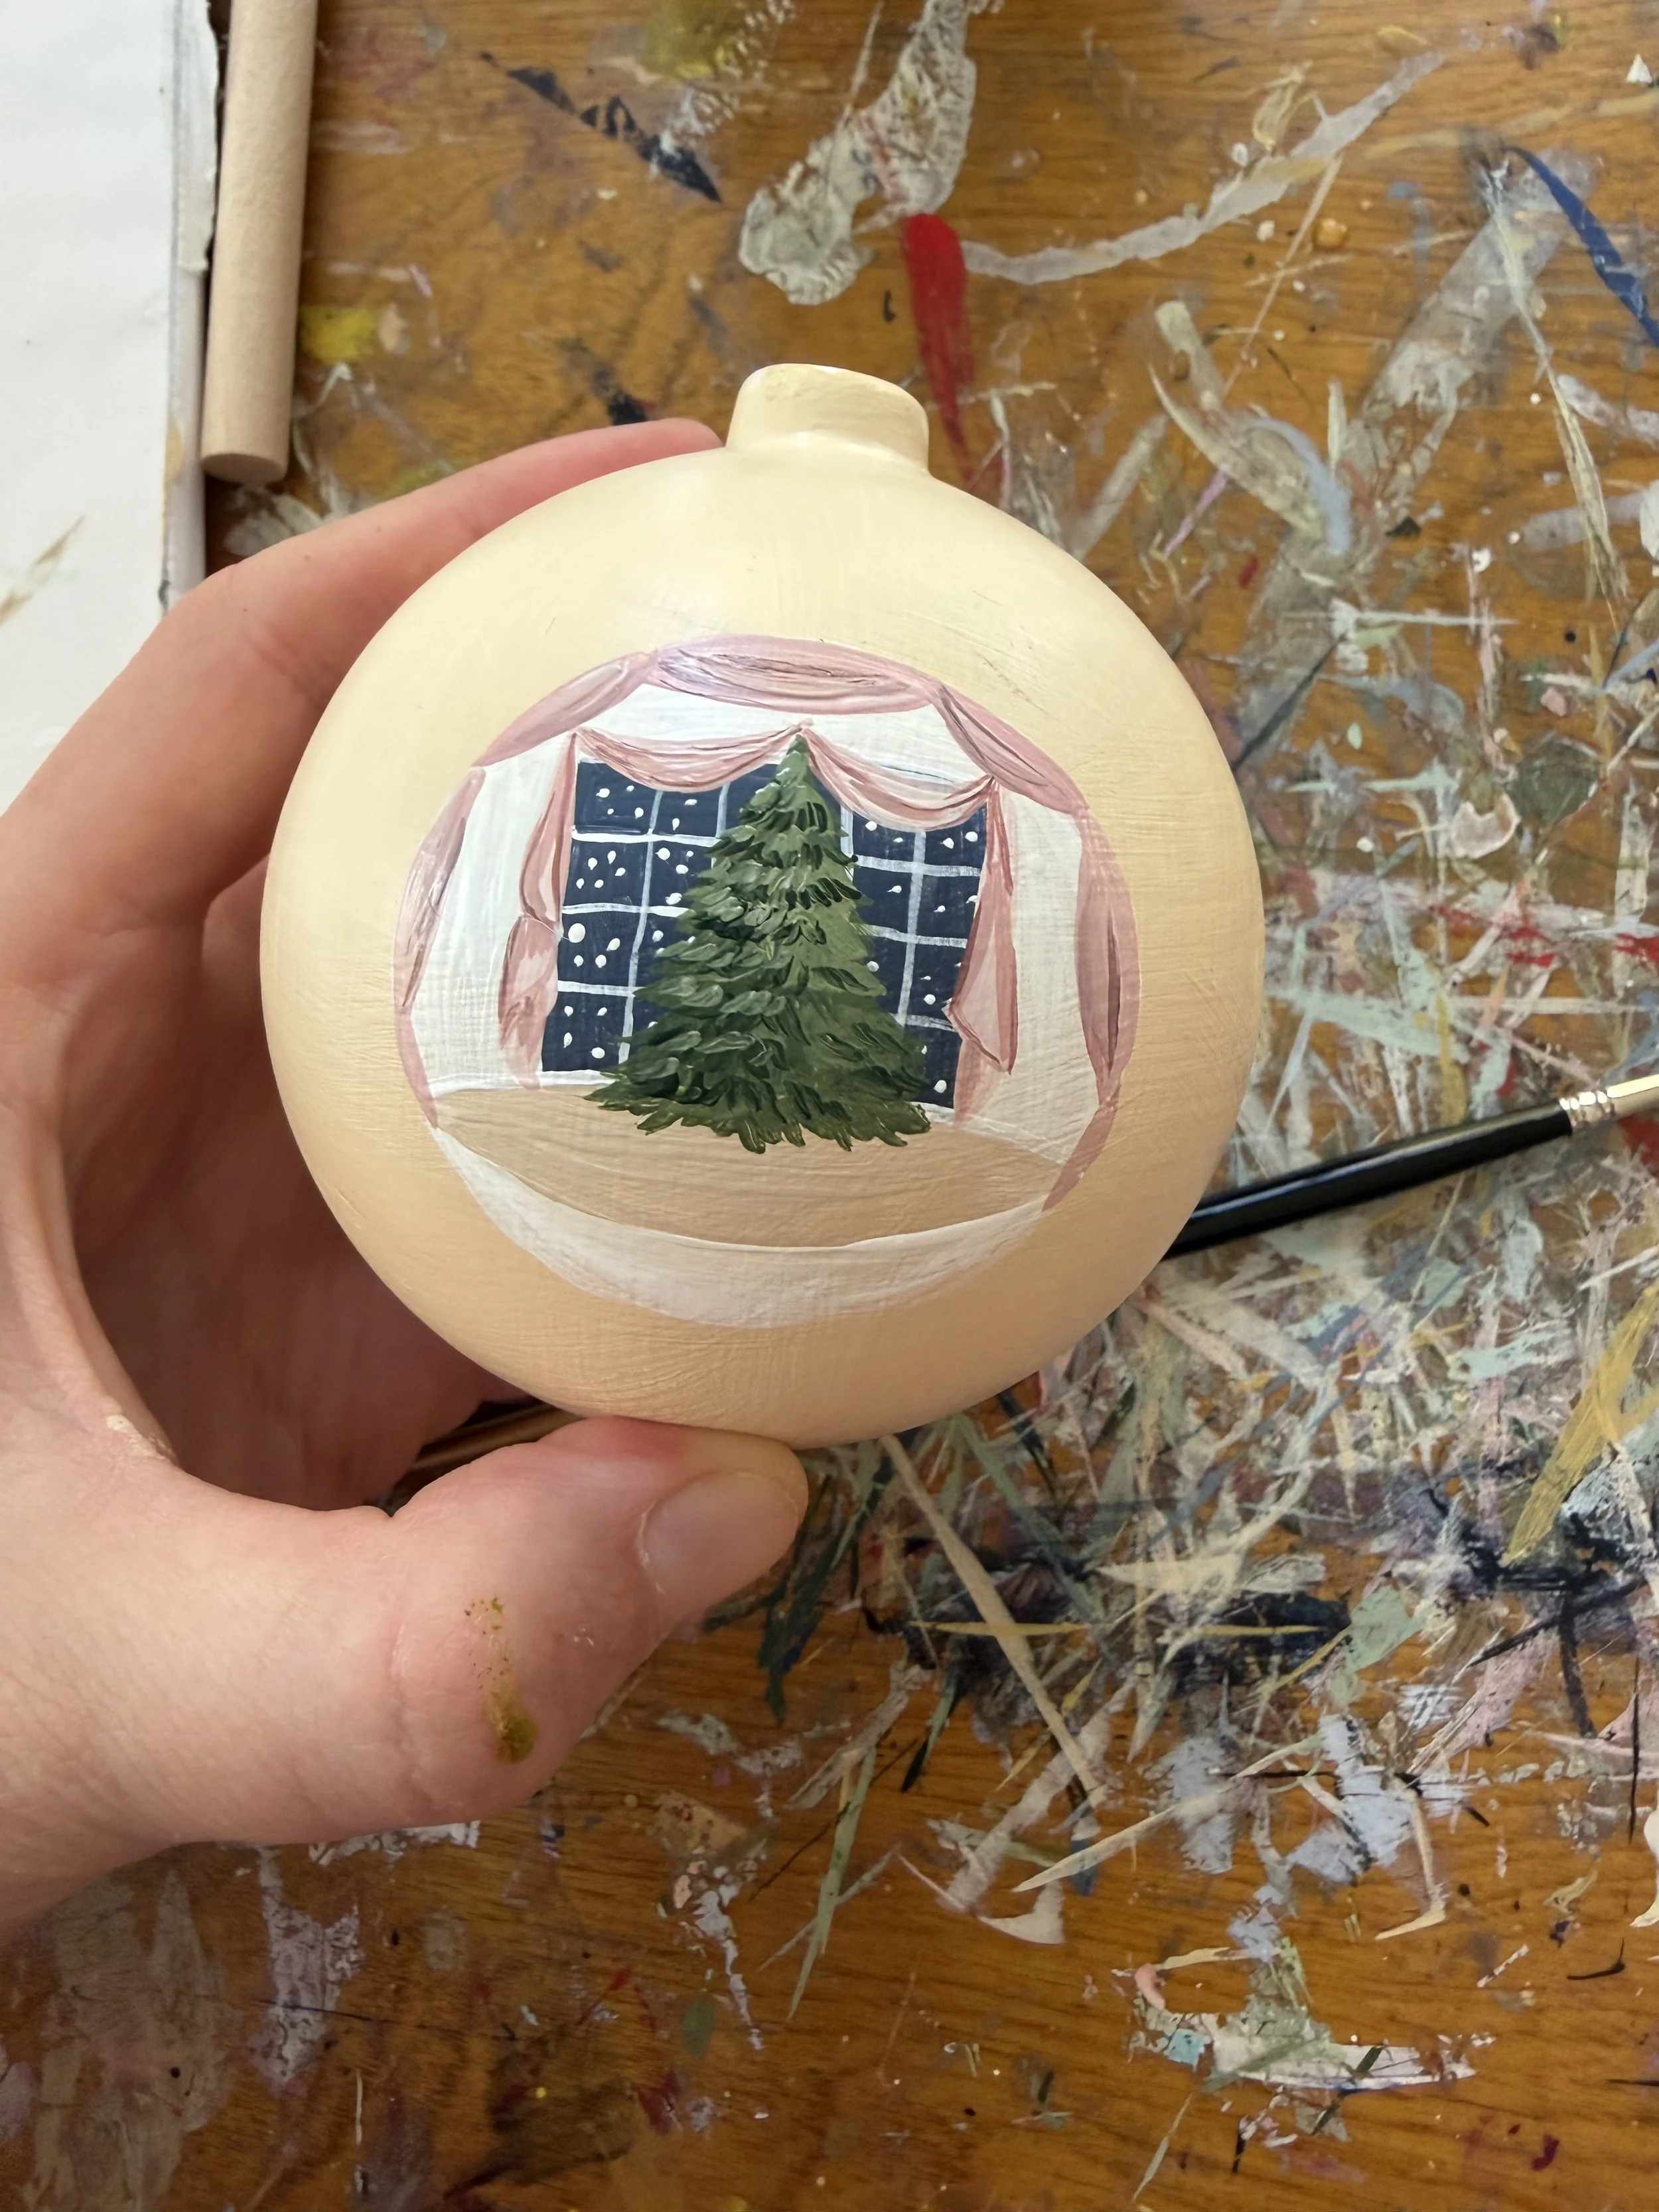
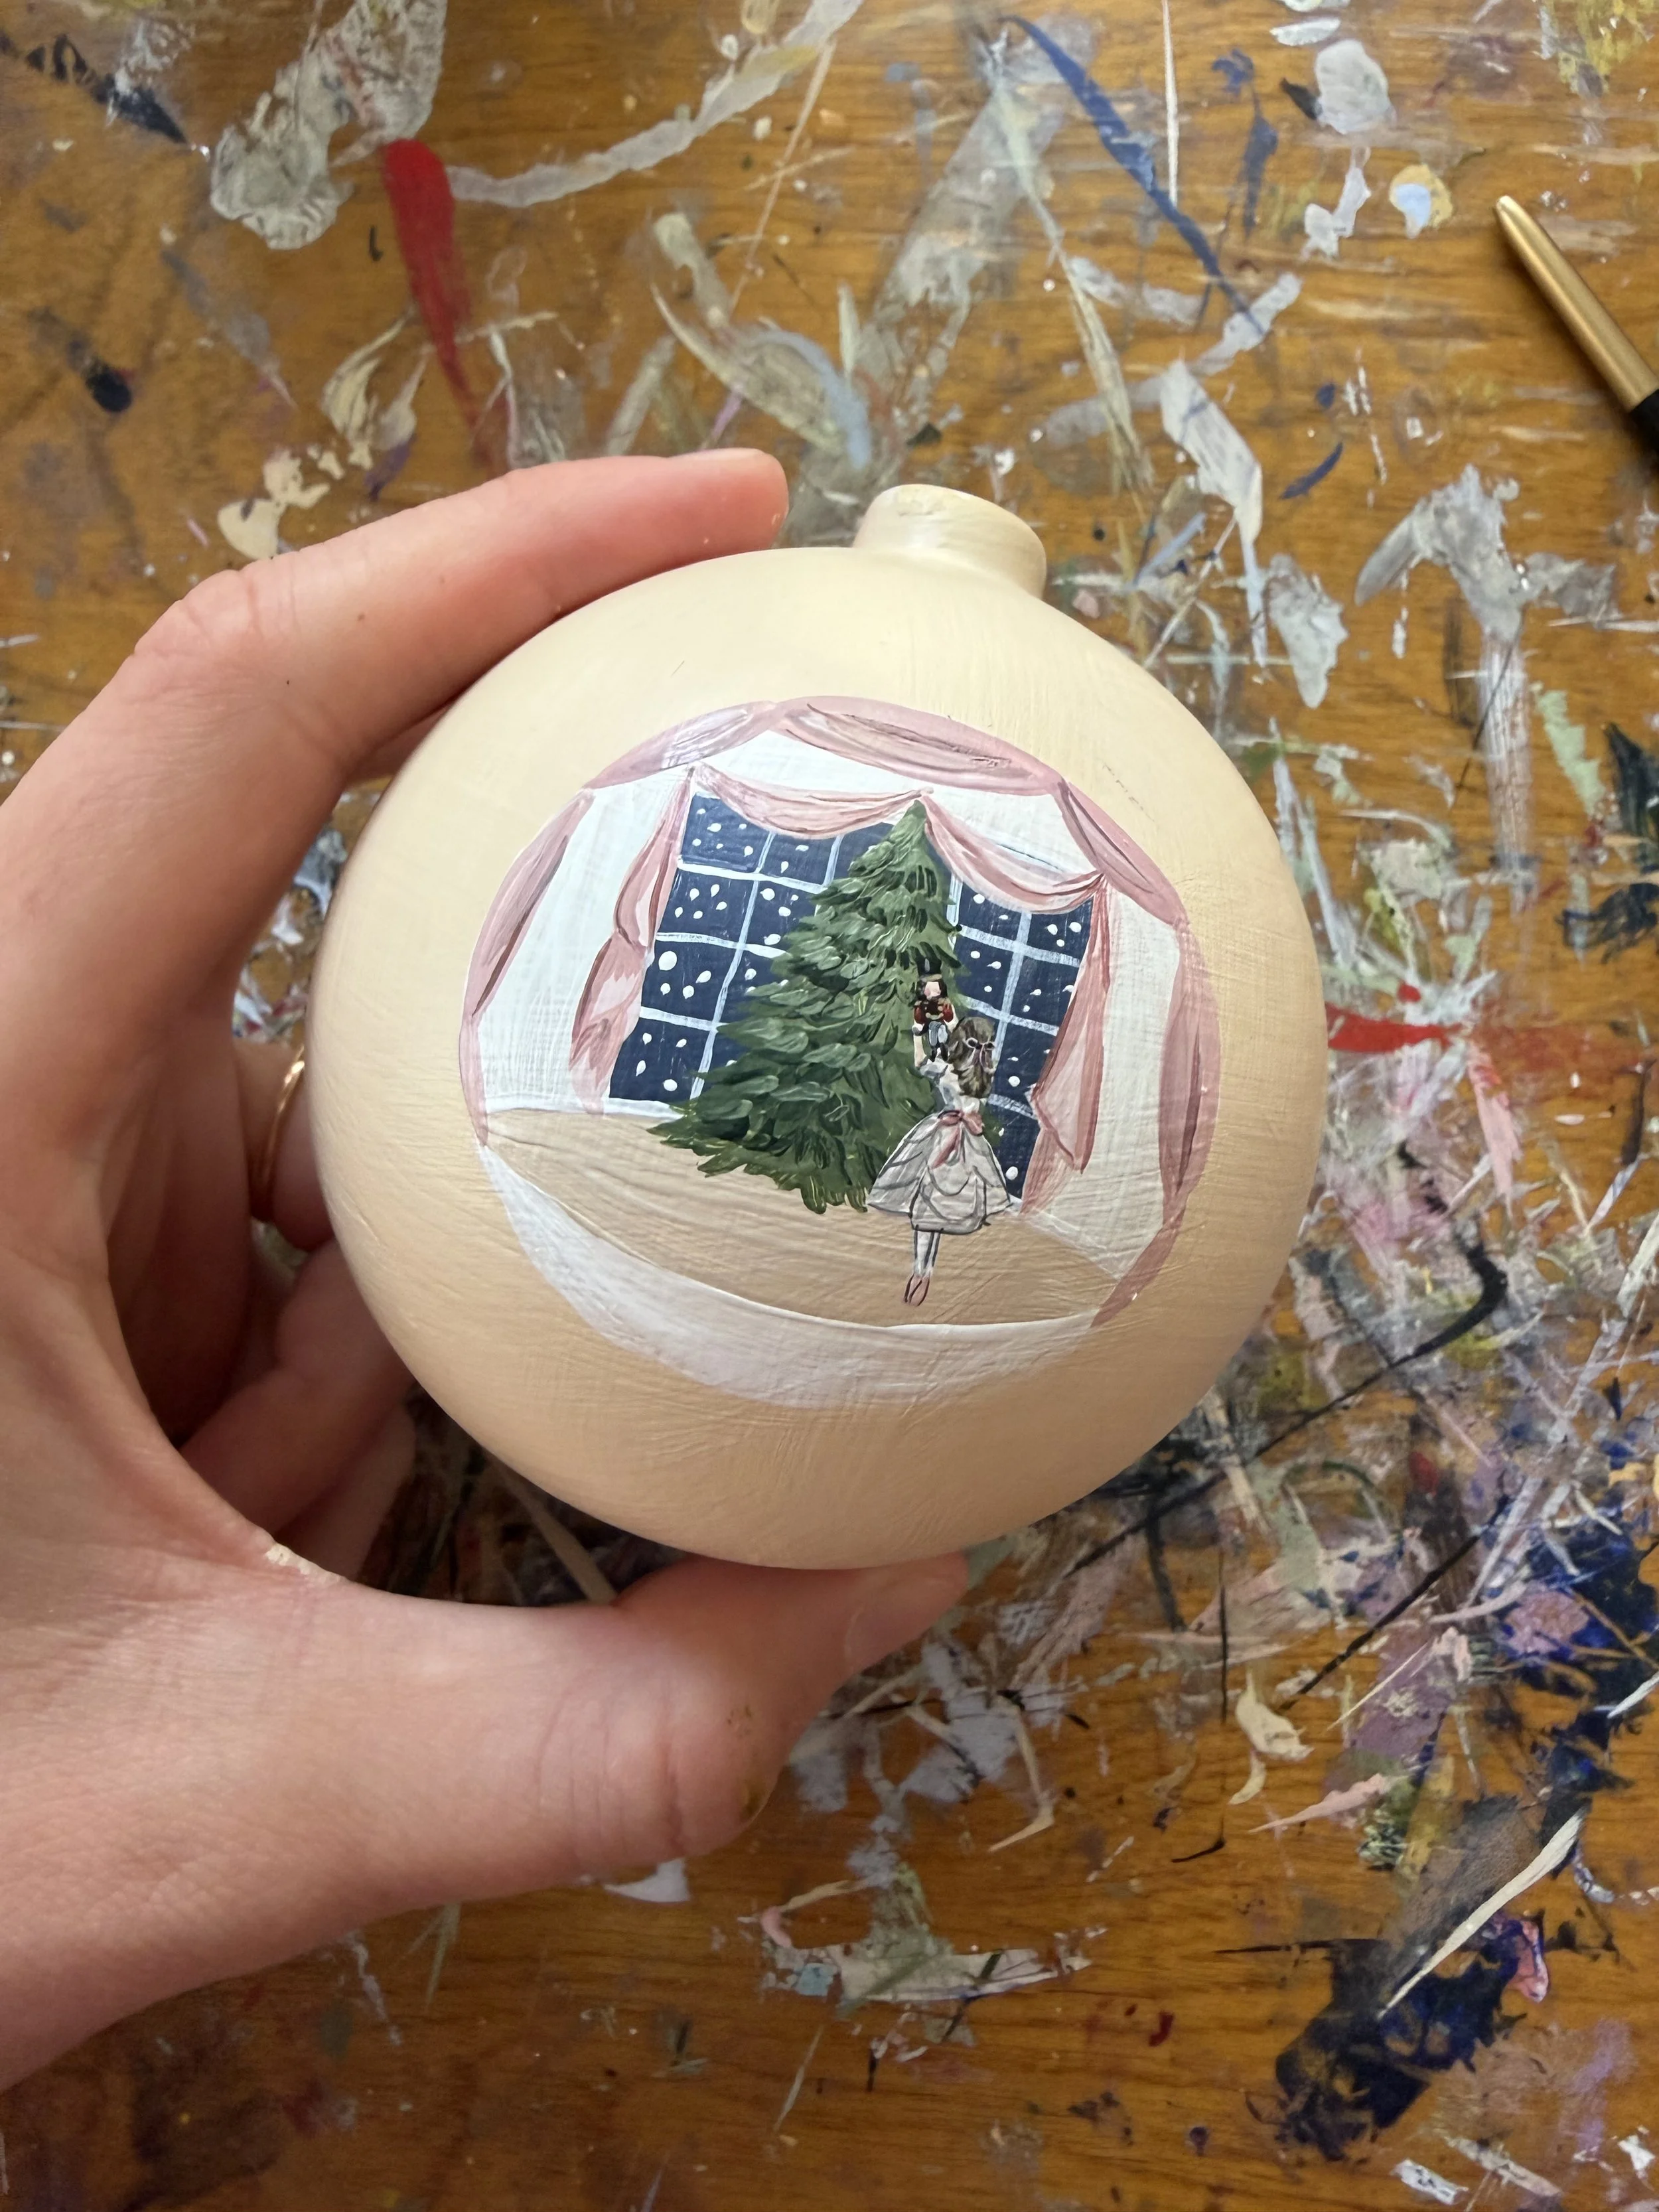
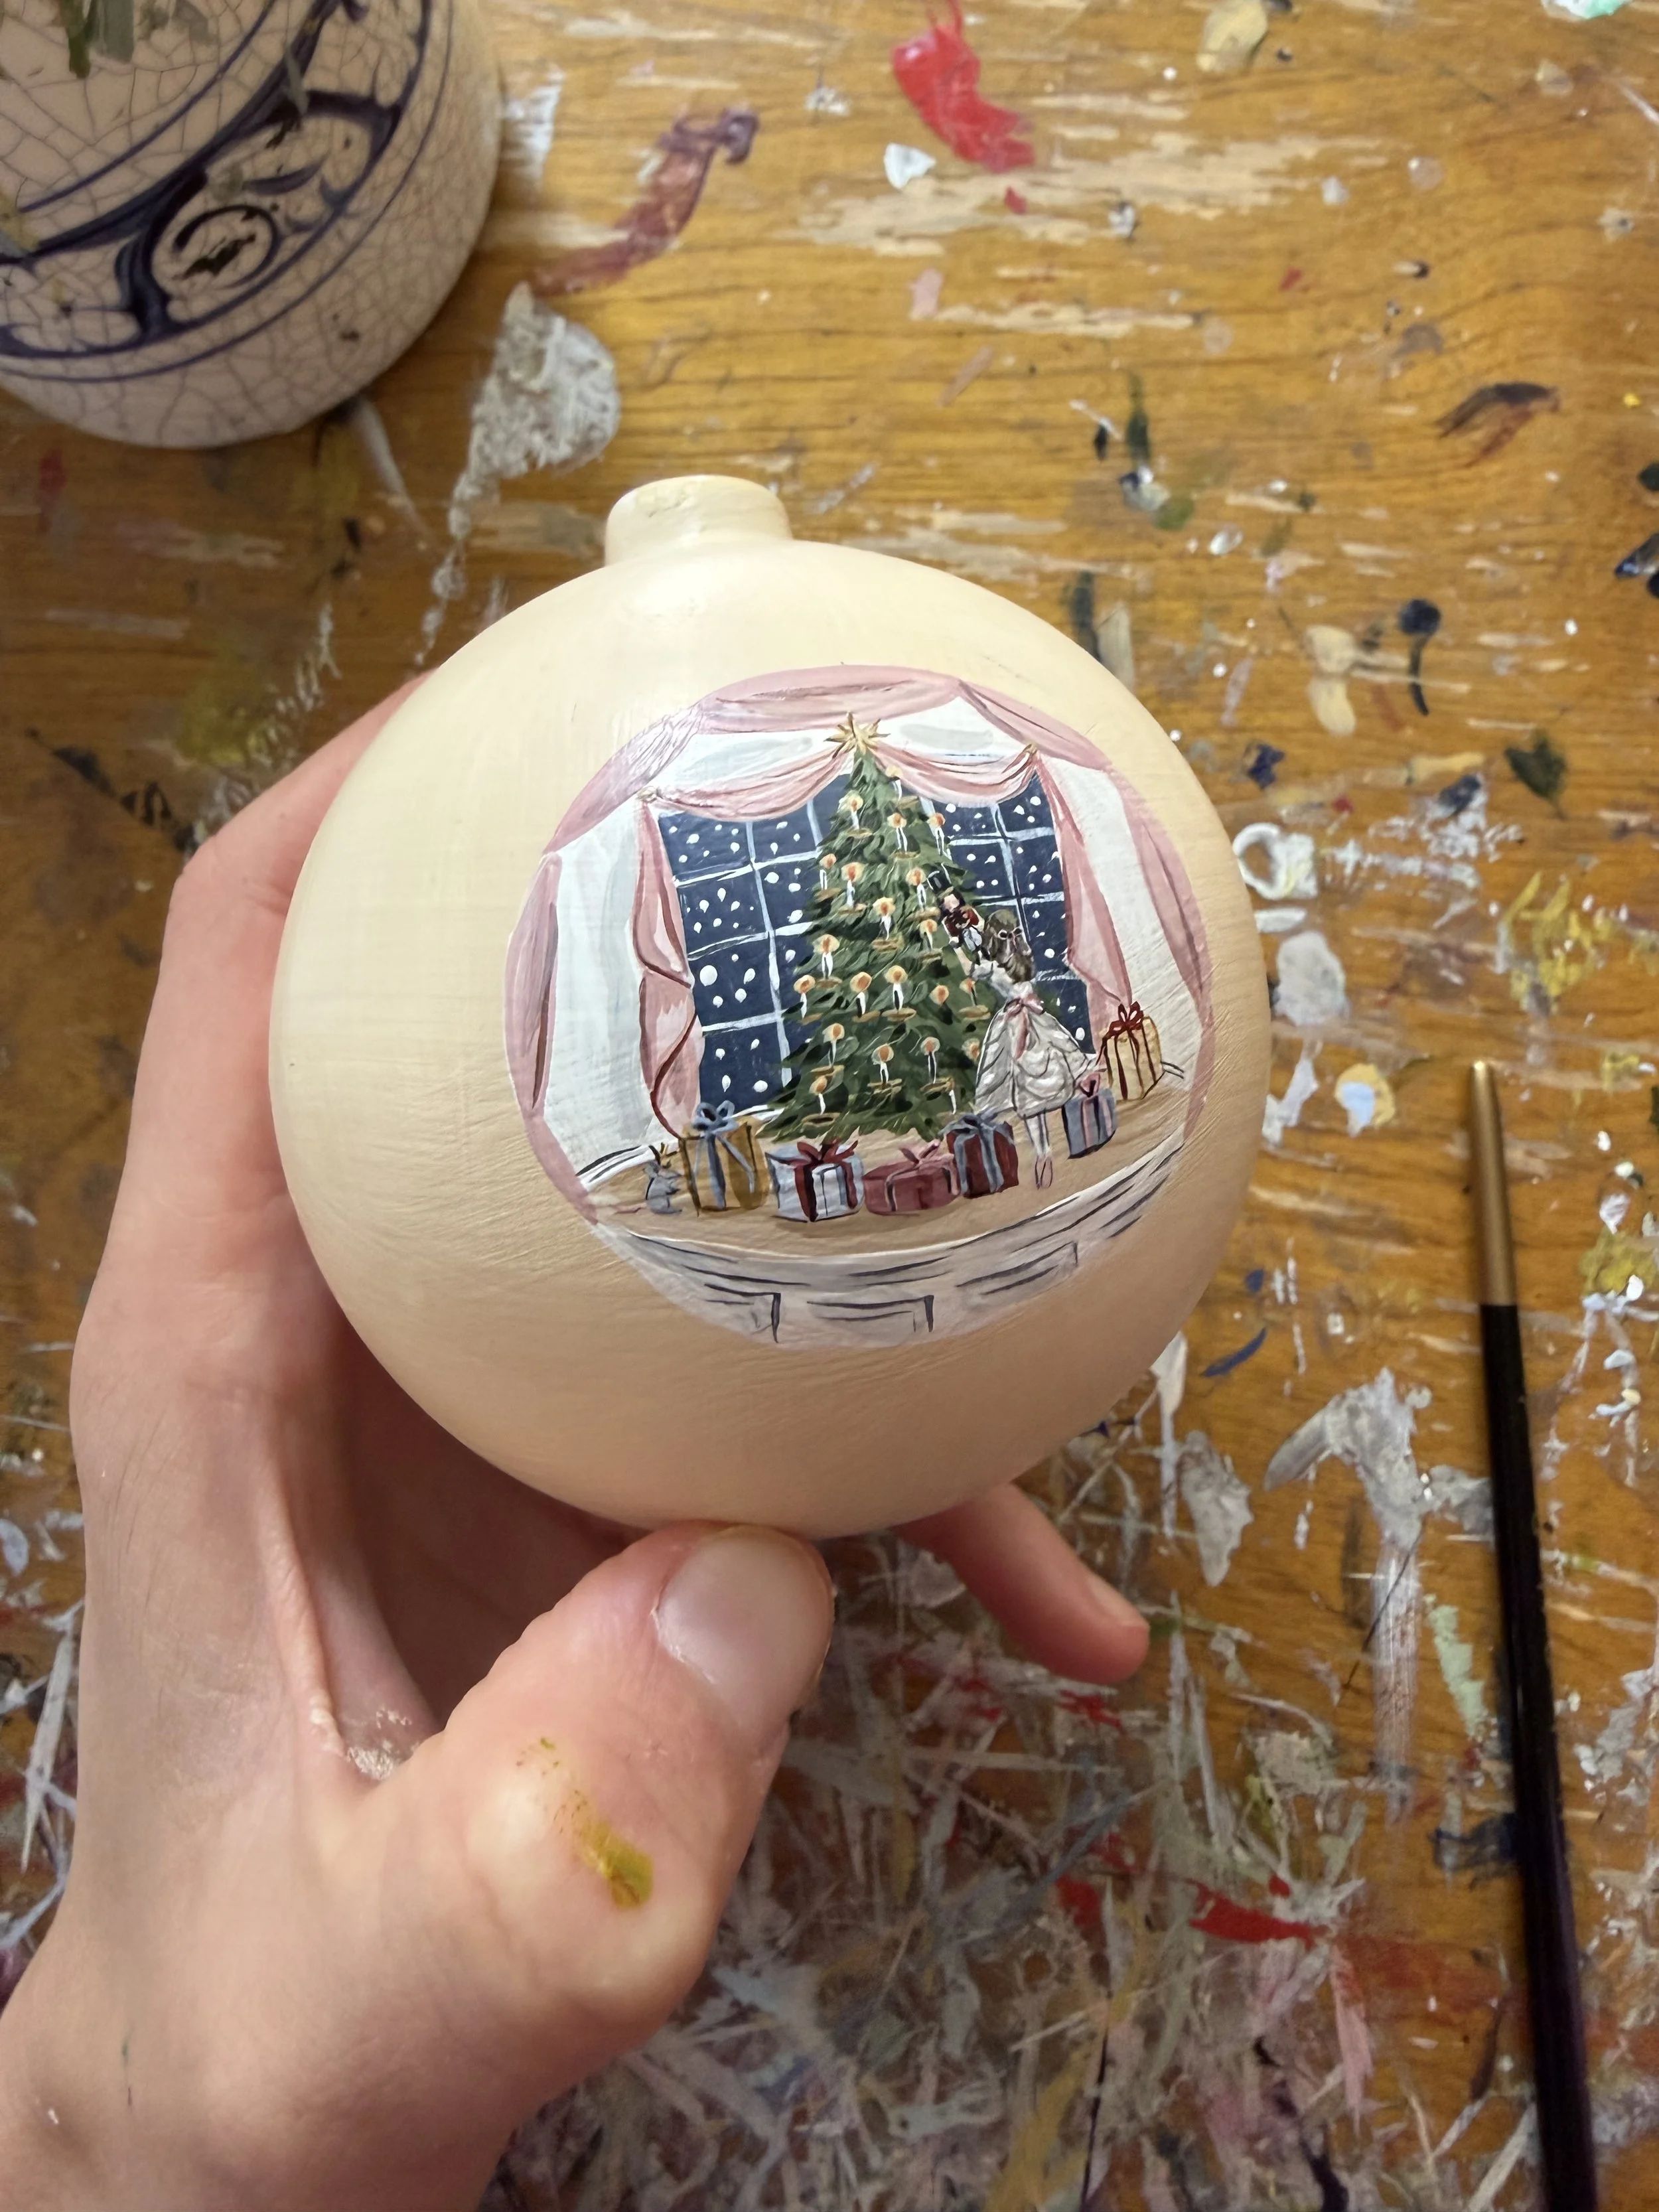
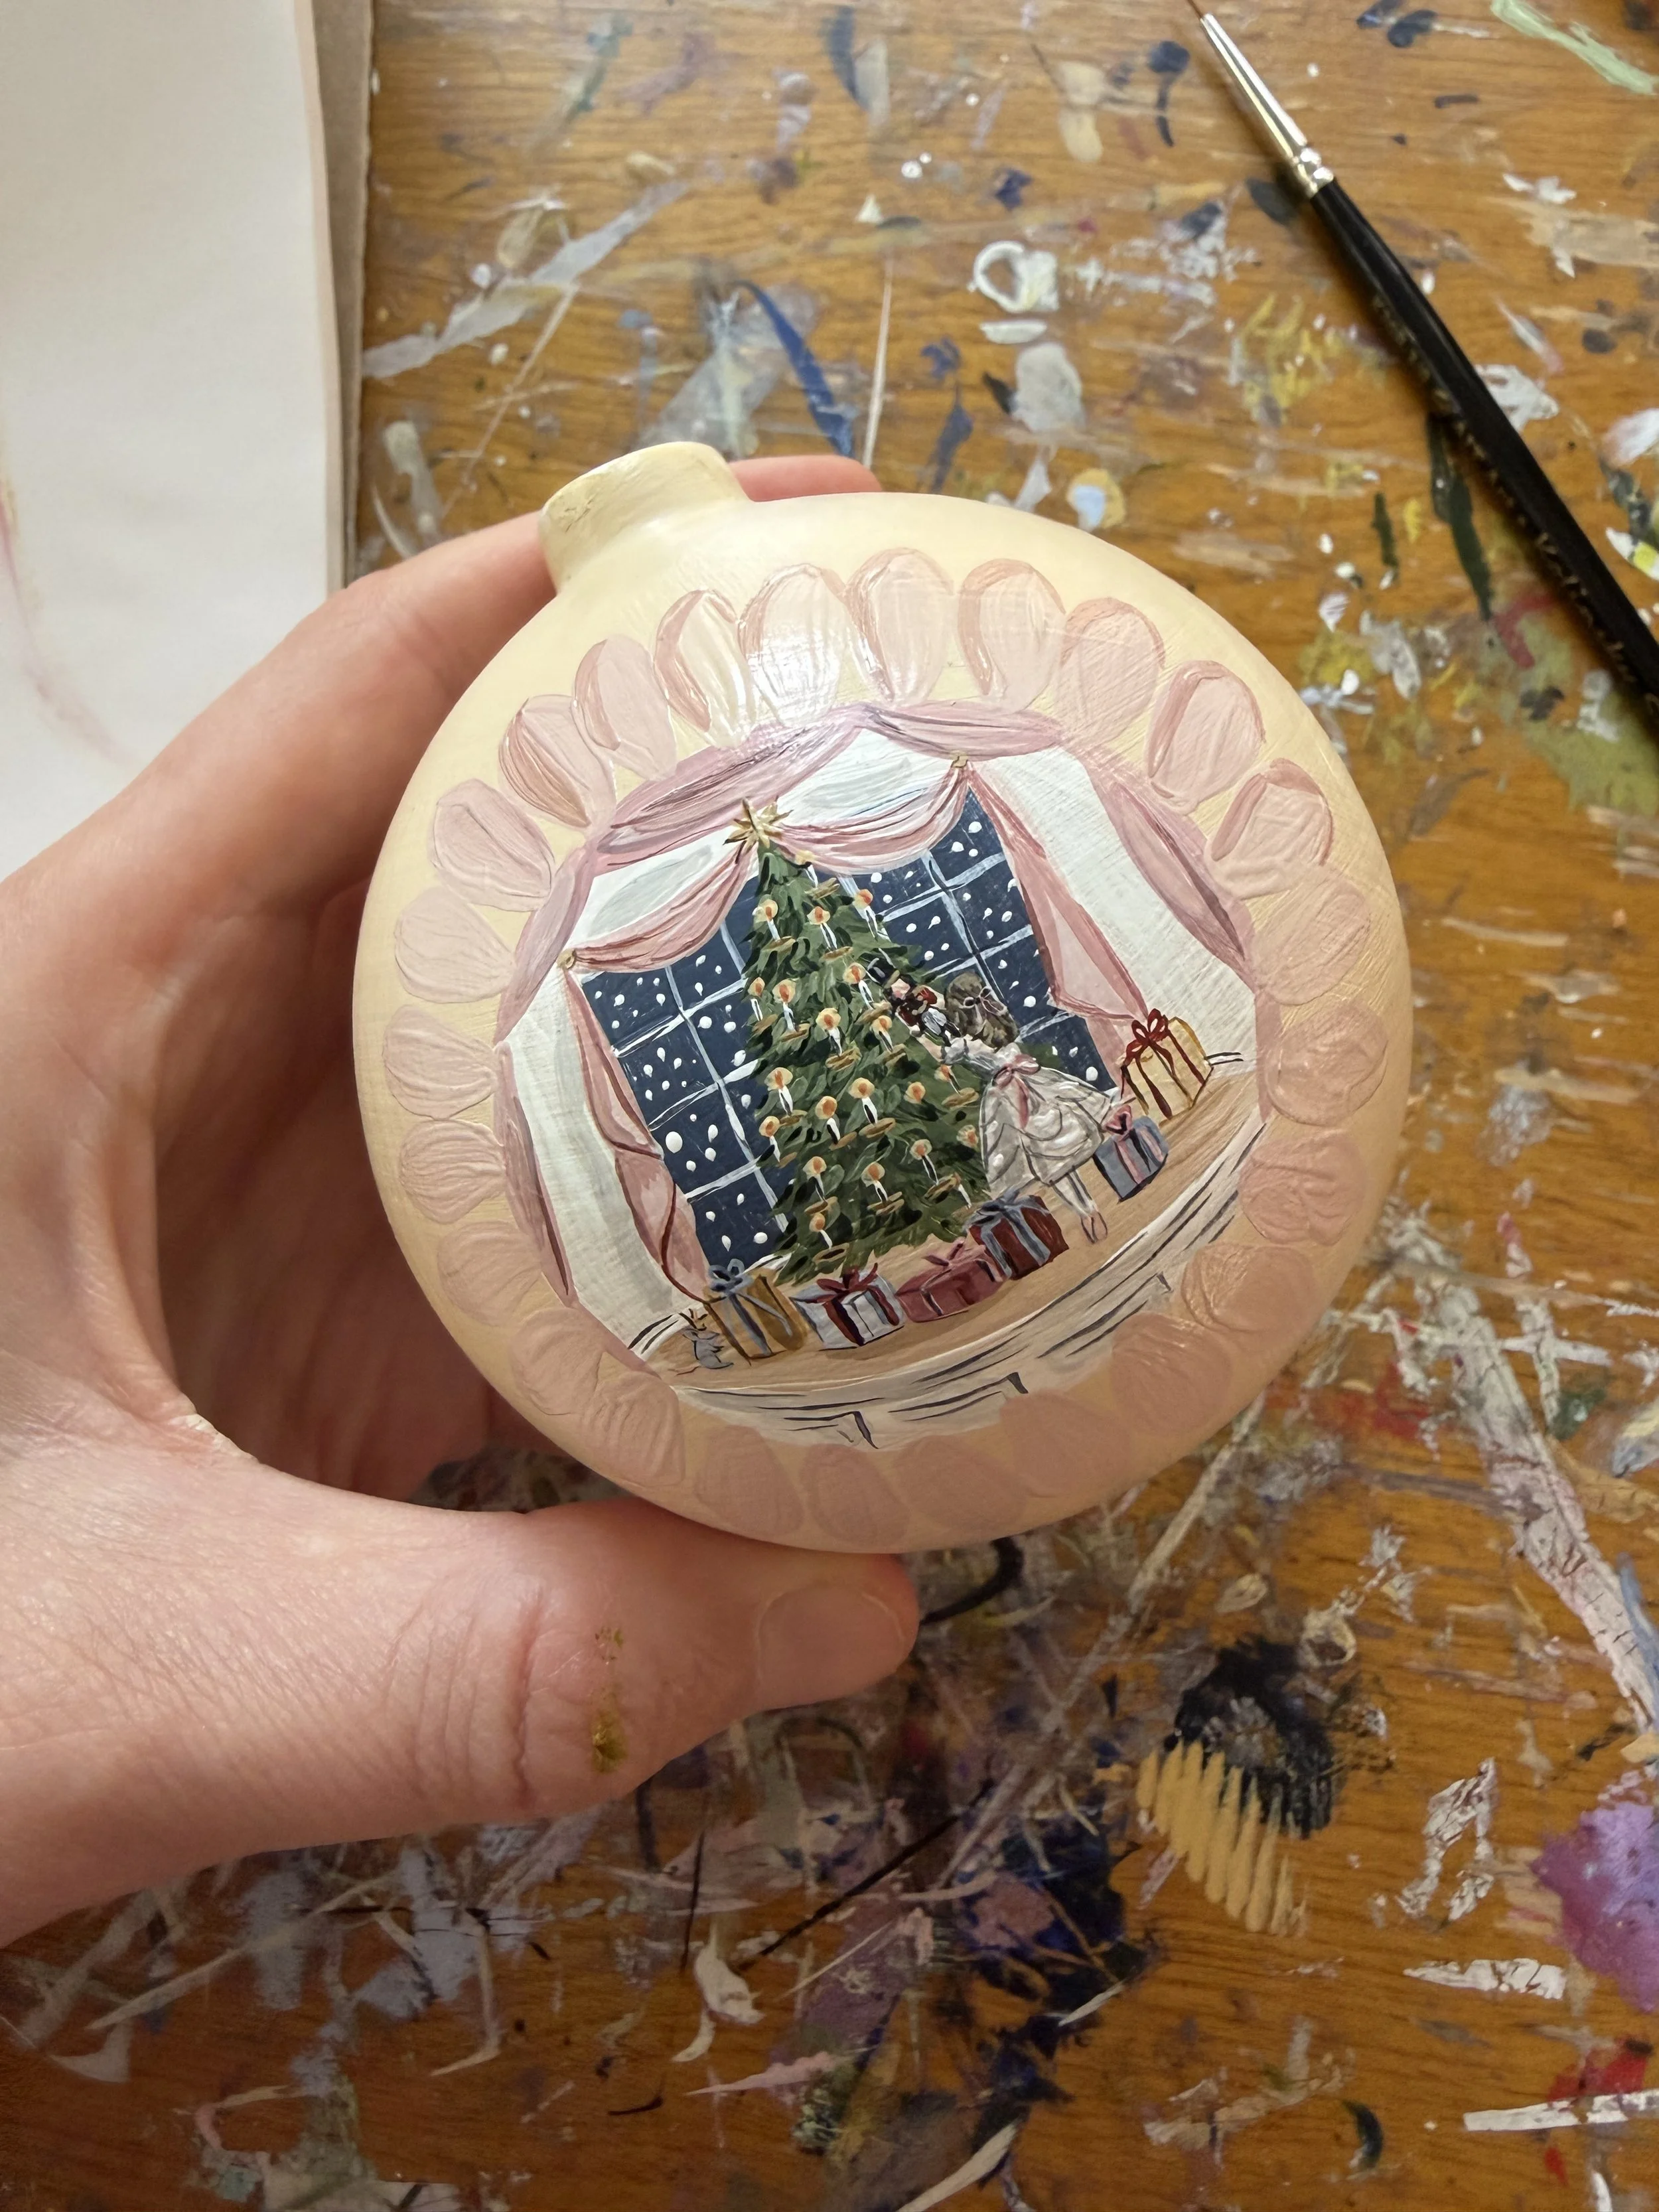
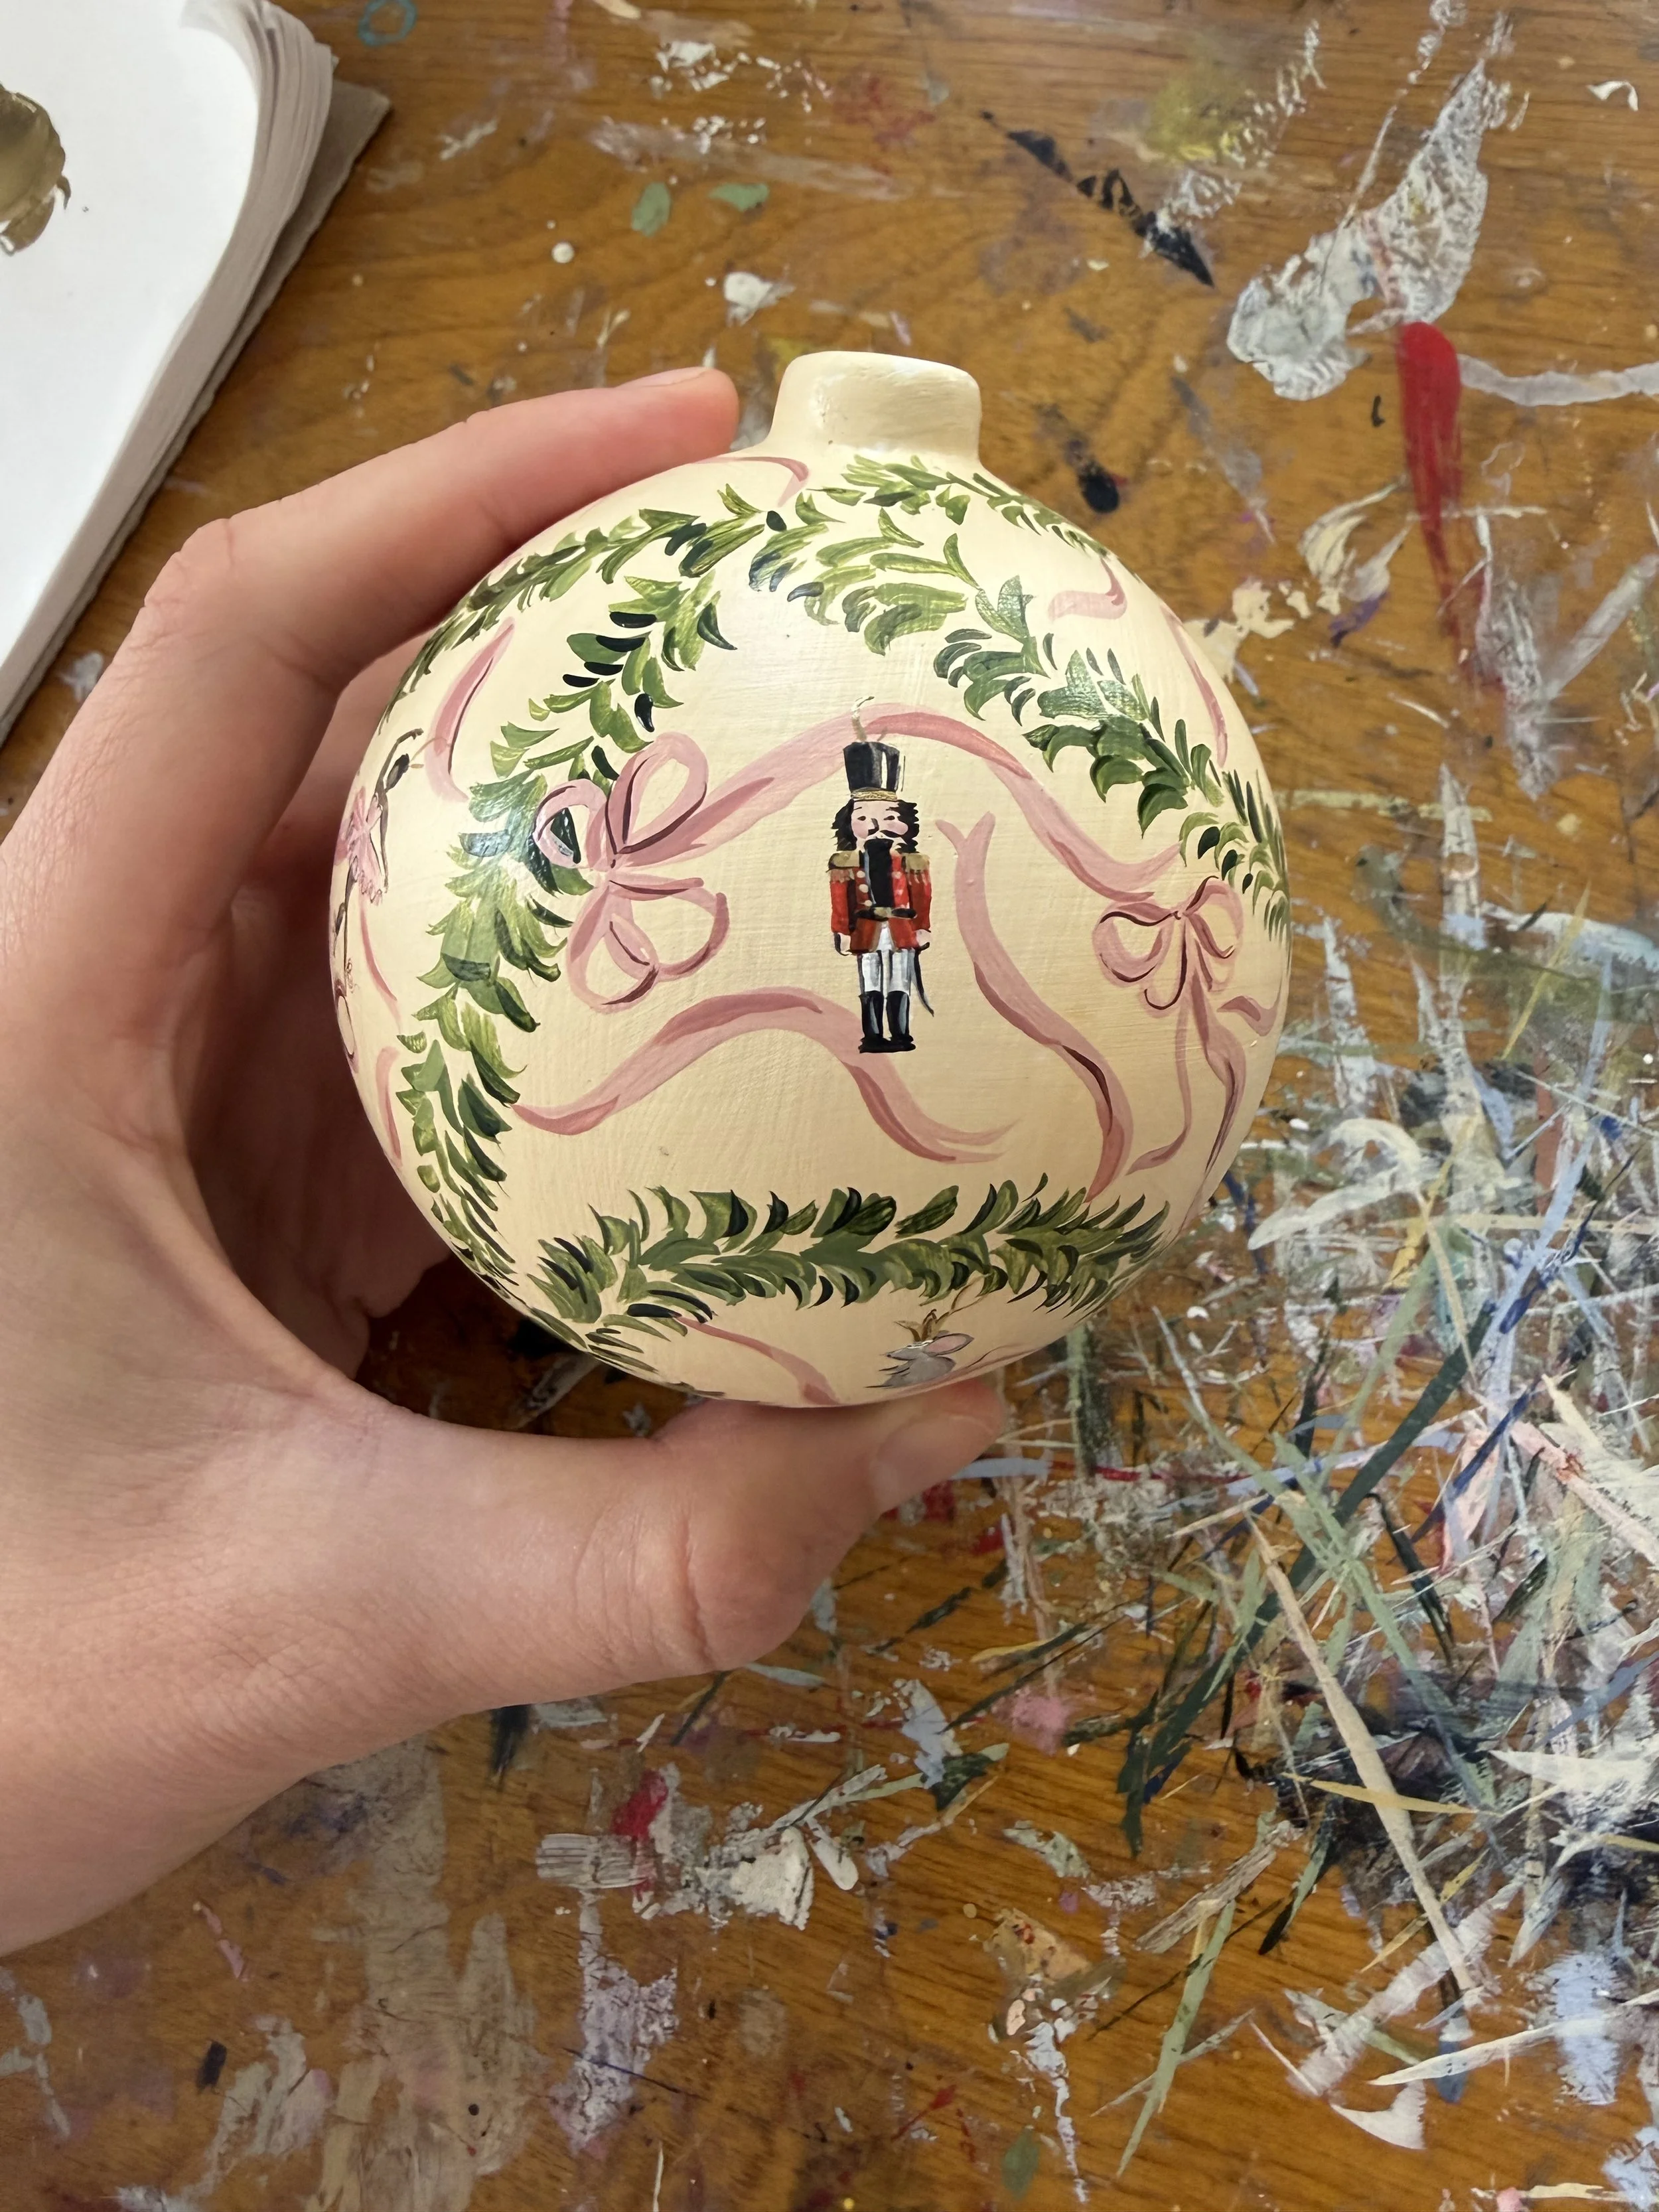
Okay- back on topic! I paint in layers- I recommend sketching your design out on paper before painting on the ornament, so that you can think through what needs to be painted first, etc. I used the size 0 brush for this.
Once the first layer is dry, I add in more details with a smaller (3/0) brush), and so on and so forth. I like to work on one side of the ornament at a time, so that my fingers don’t accidentally smudge my paint.
I usually start with the mid-tone of each part of a scene or subject, then I go back in and mix in a little white to add highlights, then a little complimentary color to add shadows. For dark outlines, I use a mix of Payne’s Gray and Raw Umber. I barely ever touch my black paint, because it tends to muddy the colors (for me at least!)
For garlands- I apply lots of little swishes of mid-green paint (I mix Sap Green with Payne’s Gray, Naples Yellow, and Titanium White) from the center of the garland going outwards. Once that’s dried, I go in on one side to add darker shadows, and the other side to add lighter (lightened with white or yellow) highlights.
For ribbons- I change the pressure at which I’m applying my brush to the surface as I paint each stroke, so that parts of the ribbon look thinner or thicker than others, to try and make it look like the ribbon is curling. You can start by experimenting with this on paper, as it’s easier to (in my opinion!) to paint on a flat surface than a round one!
One of the final steps is usually adding in any gold highlights with Iridescent Bronze.
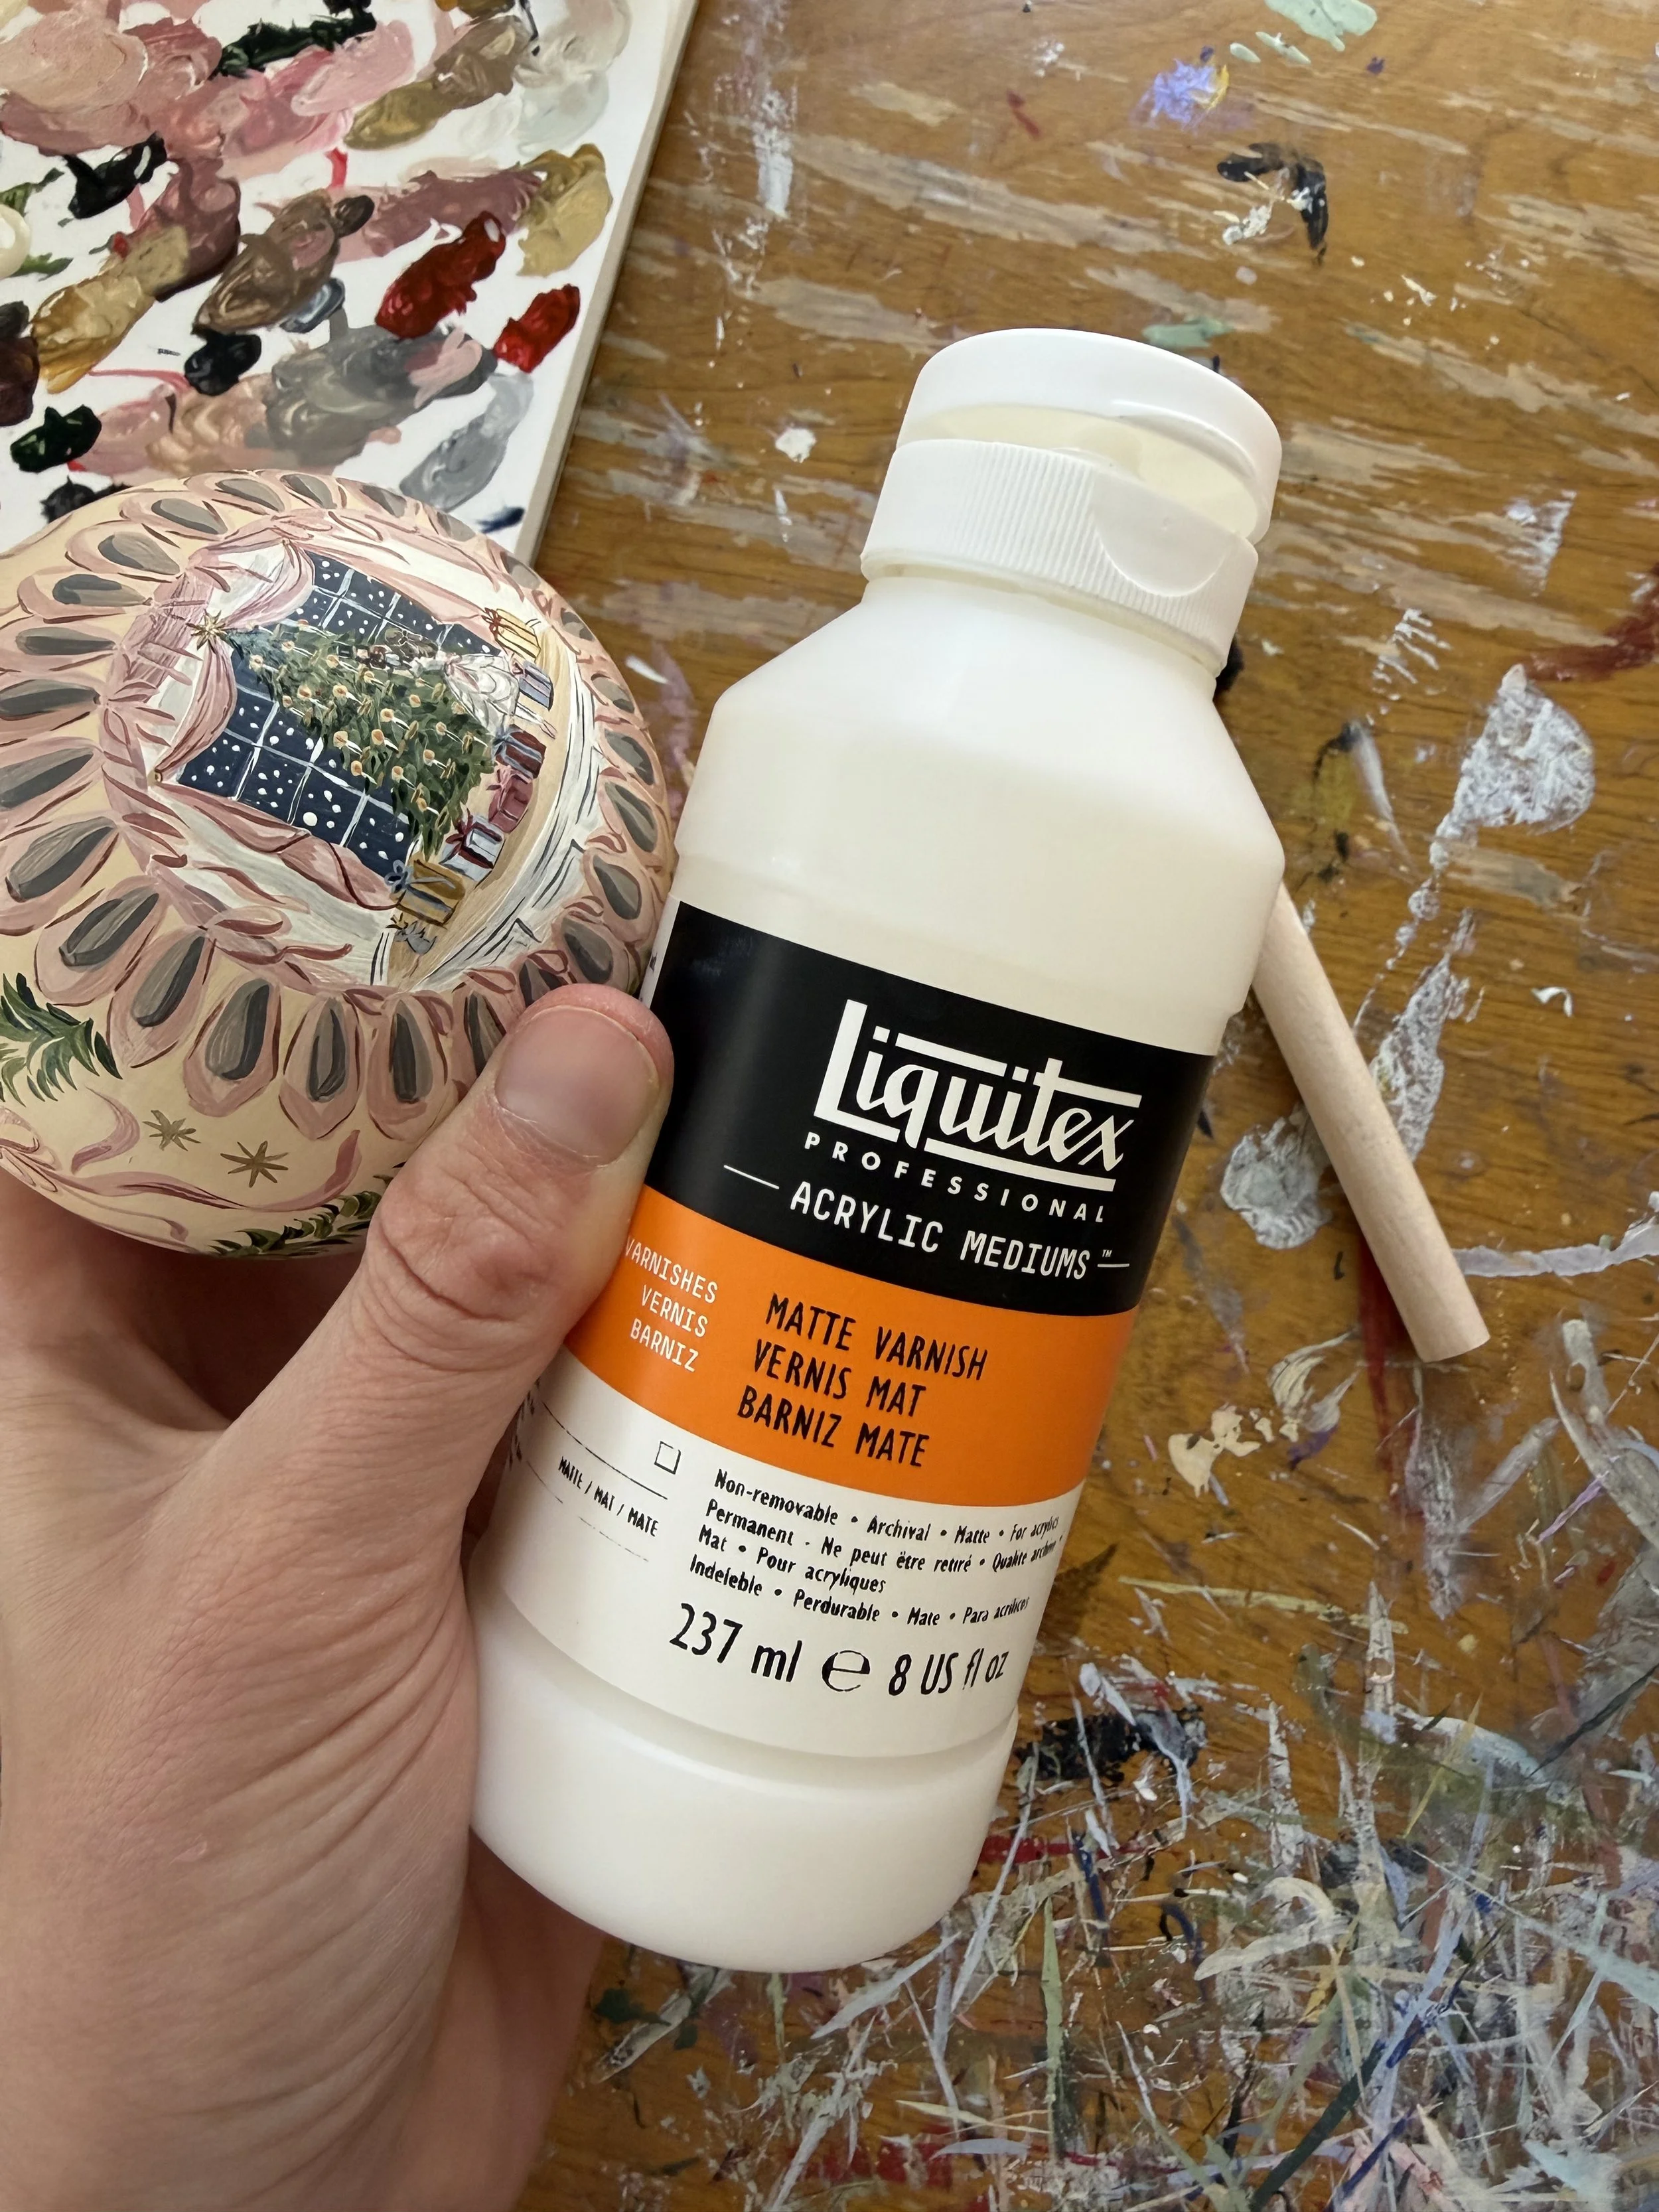
Finally- once the ornament is dry to touch, I apply a very thin layer of Liquitex Matte Varnish with a sponge brush, to prevent chipping.
Let me know if you have any questions while painting, and if you do try this out, please send photos- I’d love to see what you create!